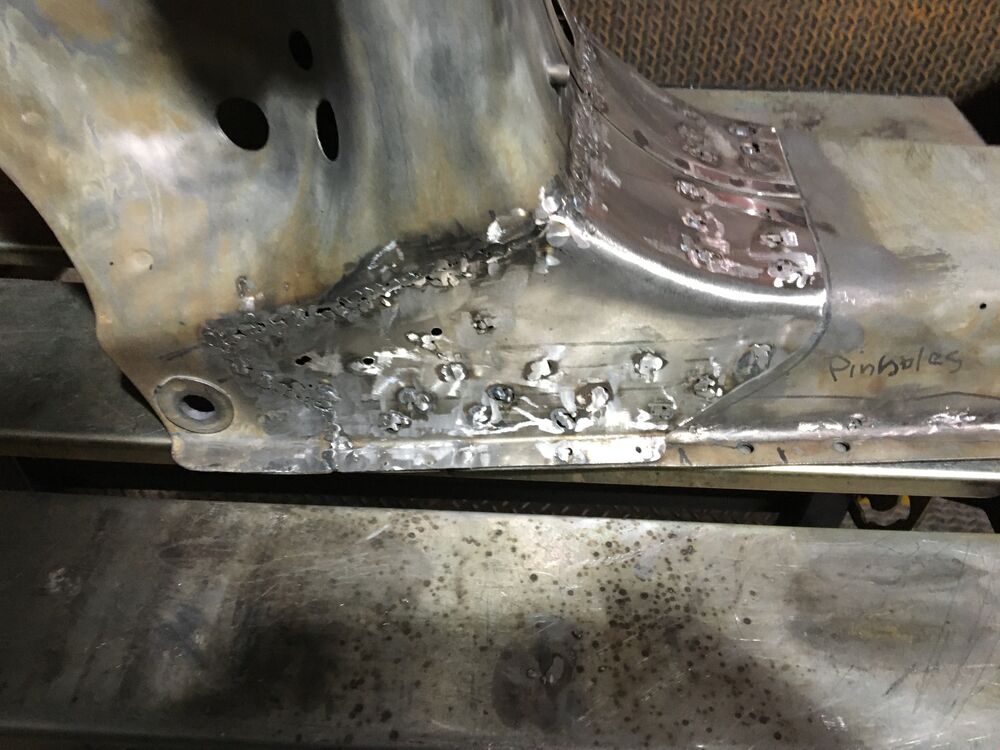
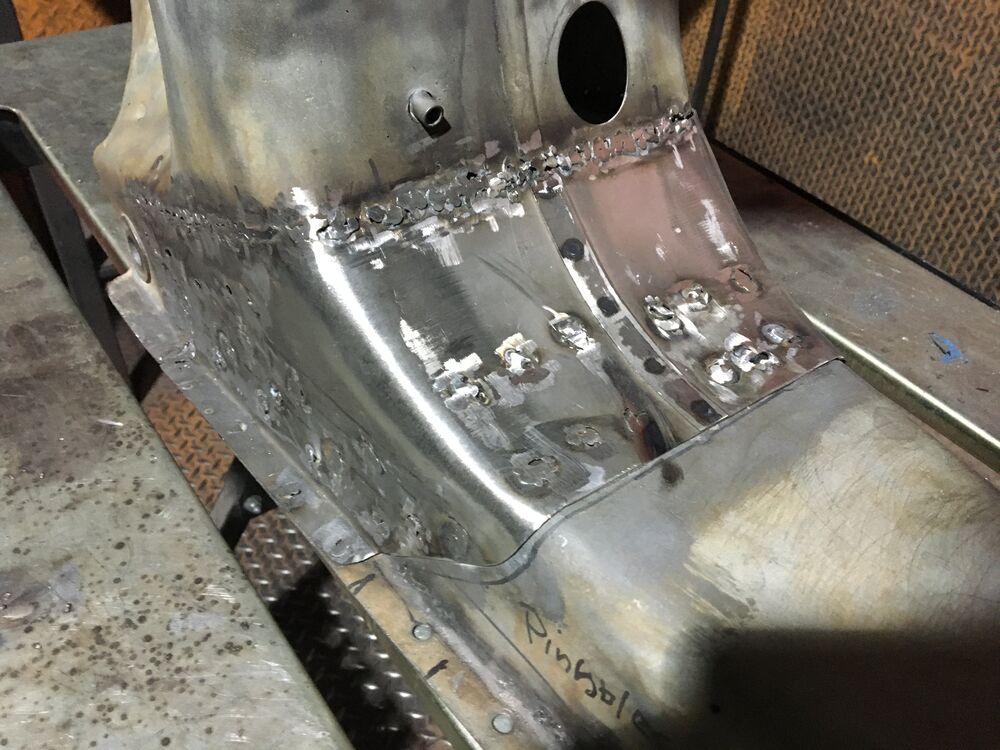
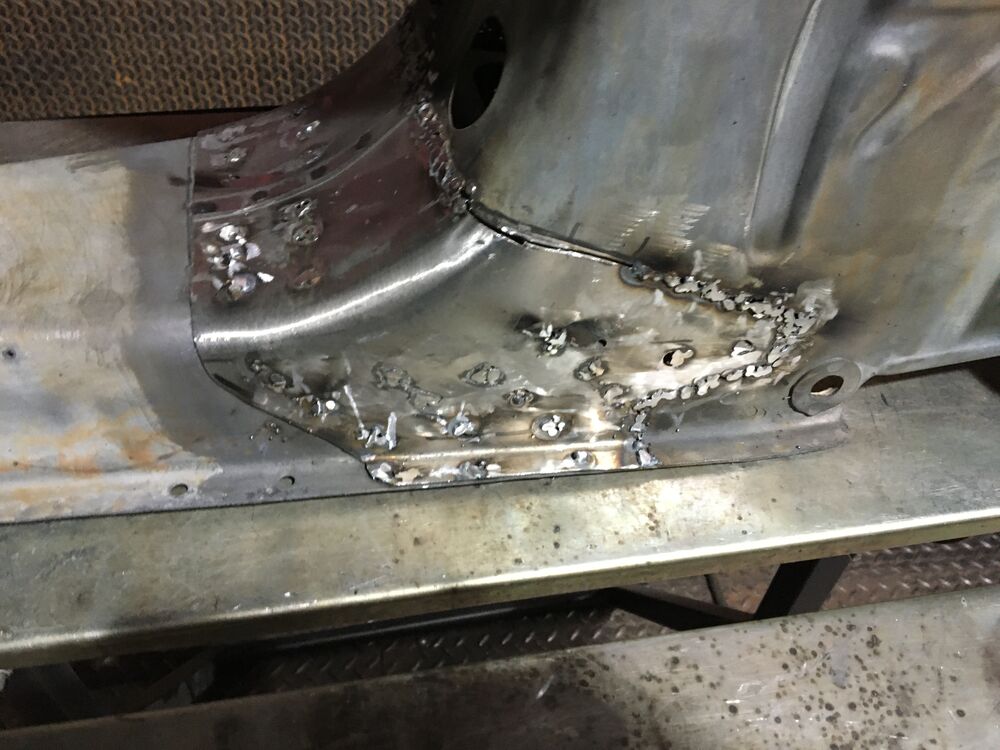
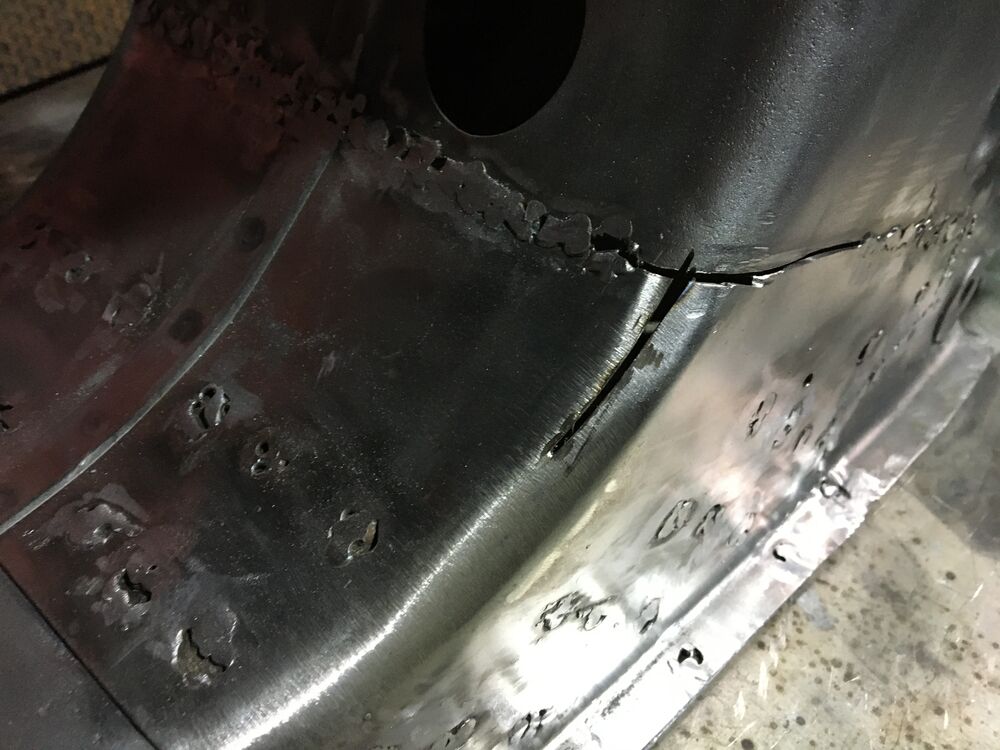
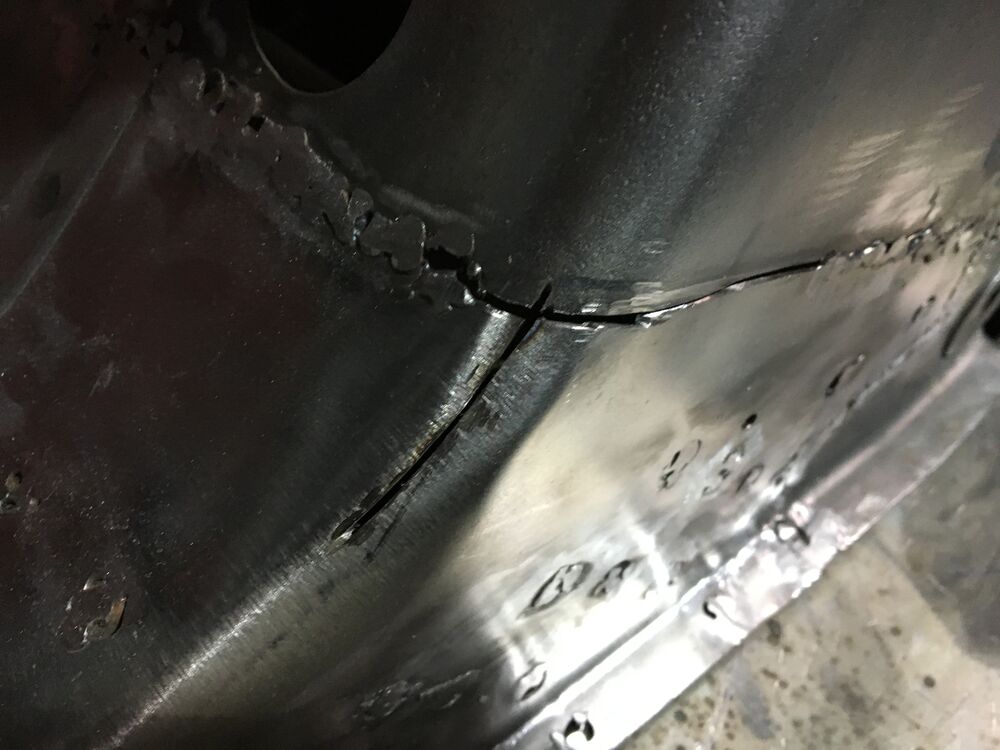
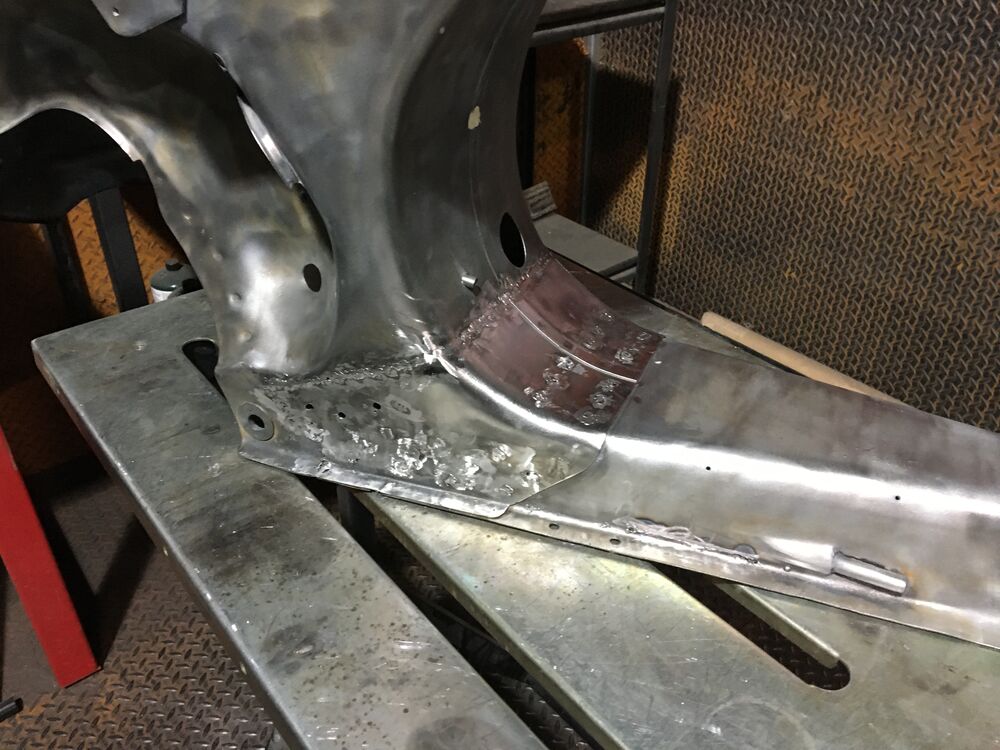
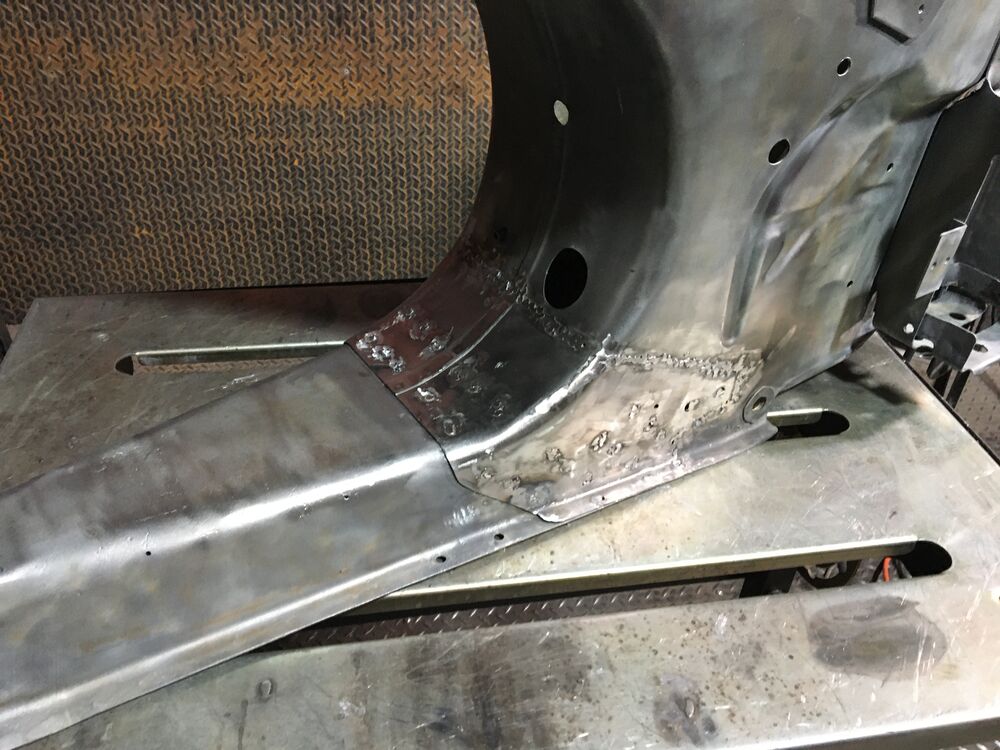
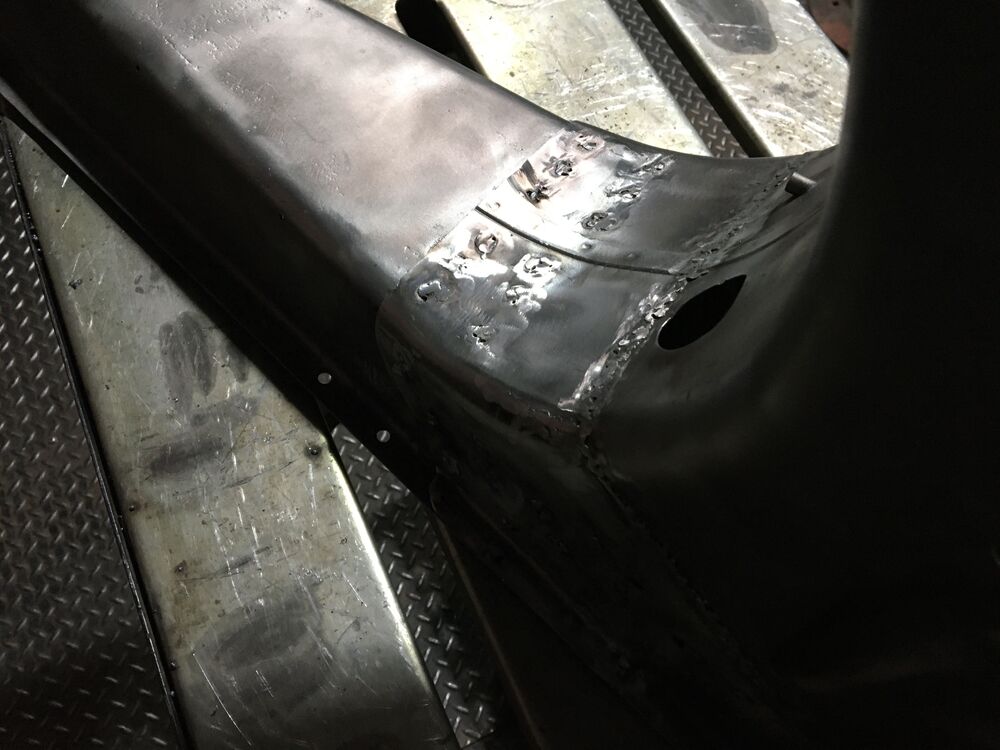
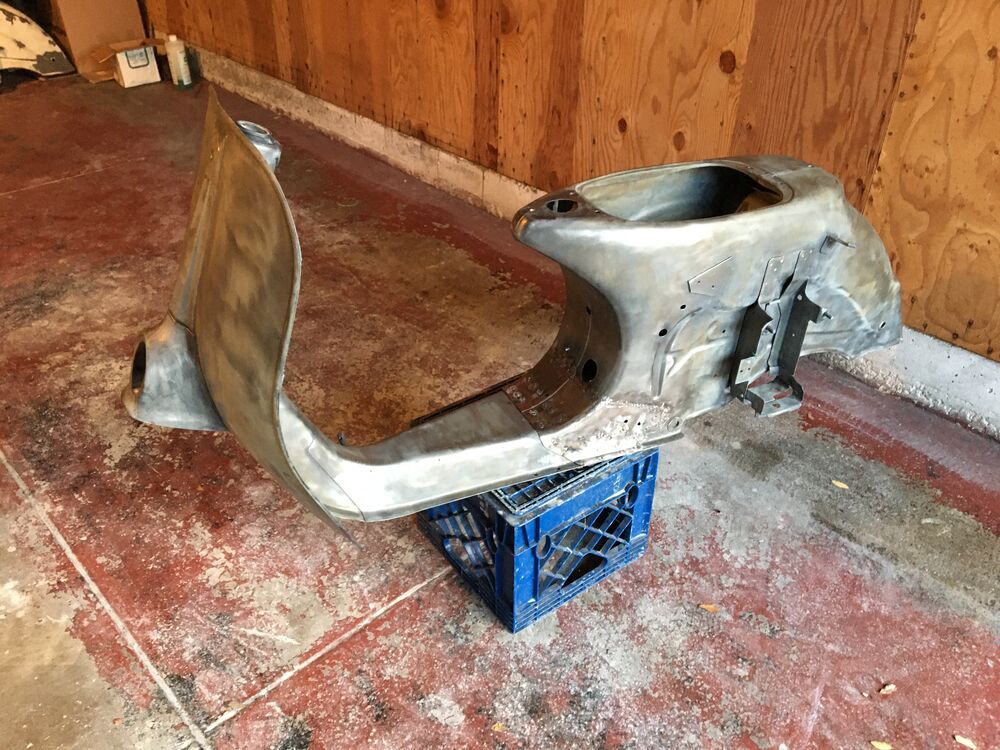
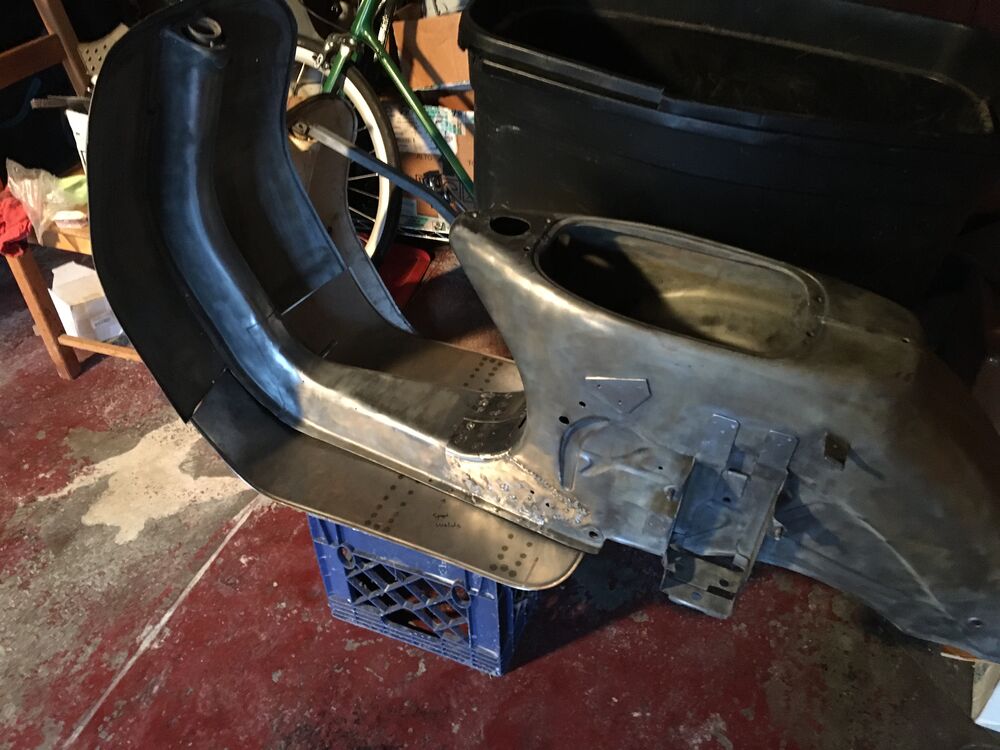
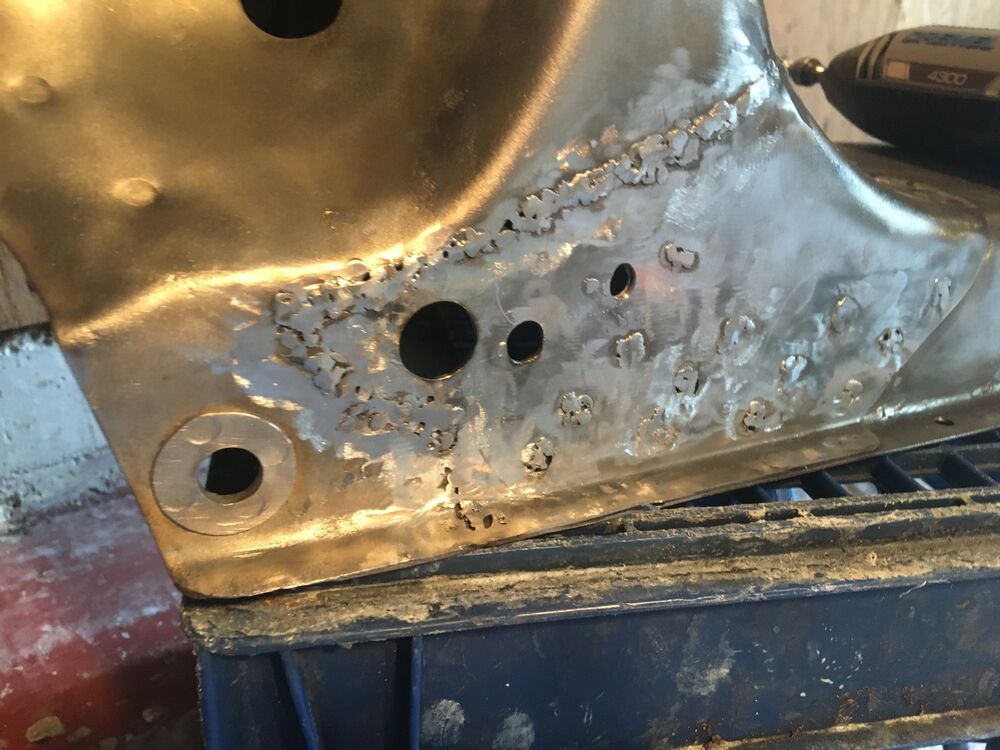
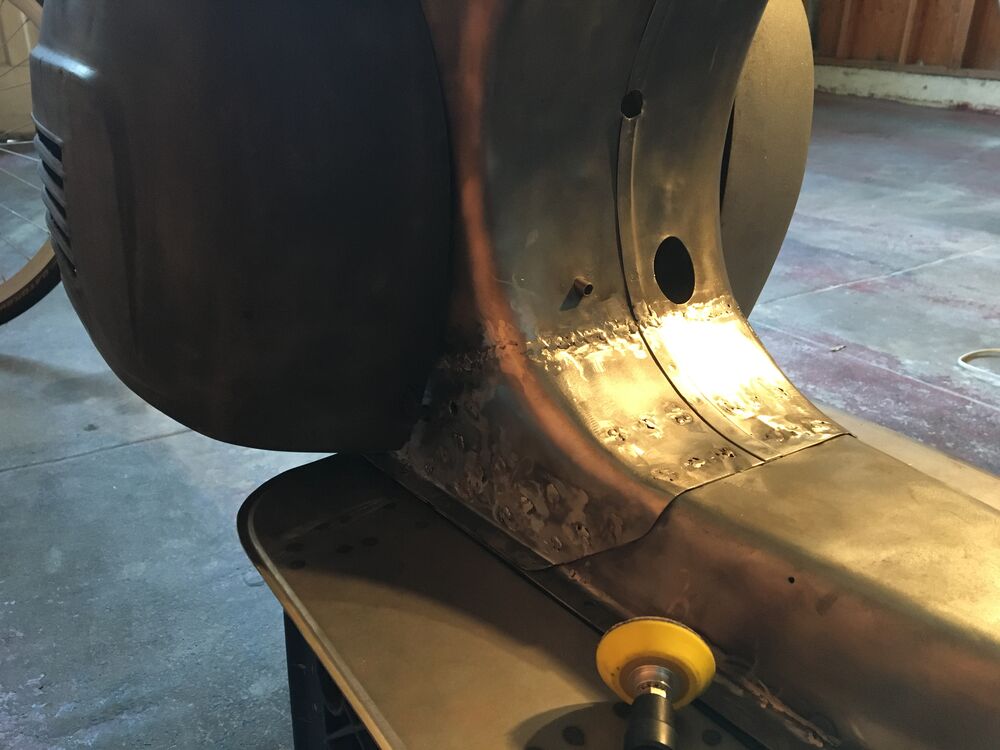
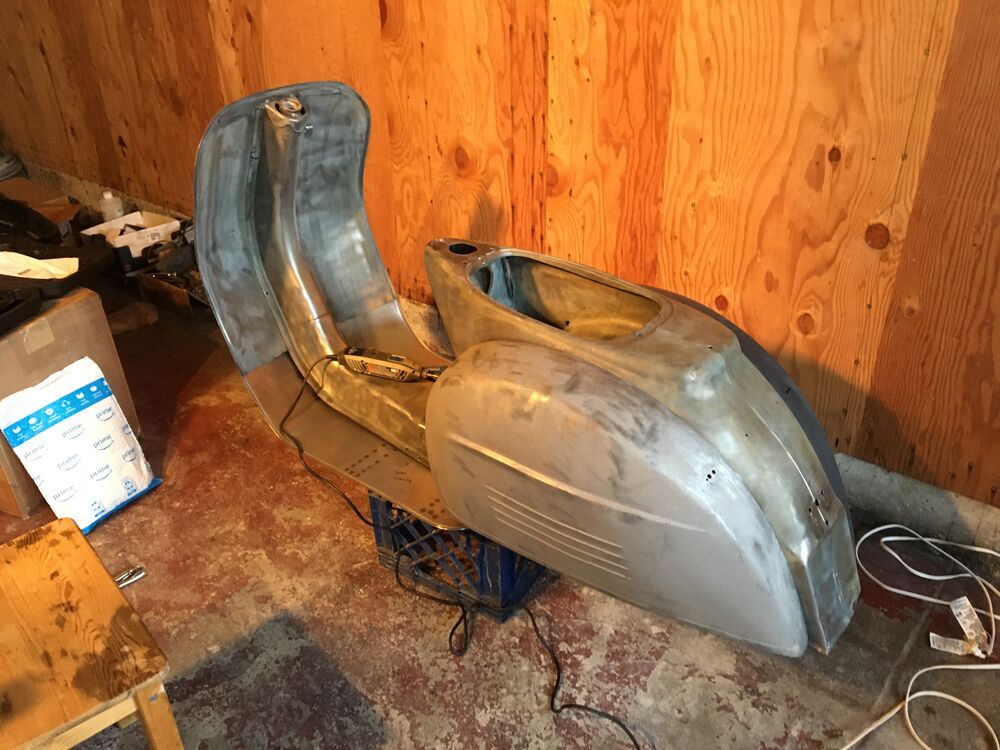
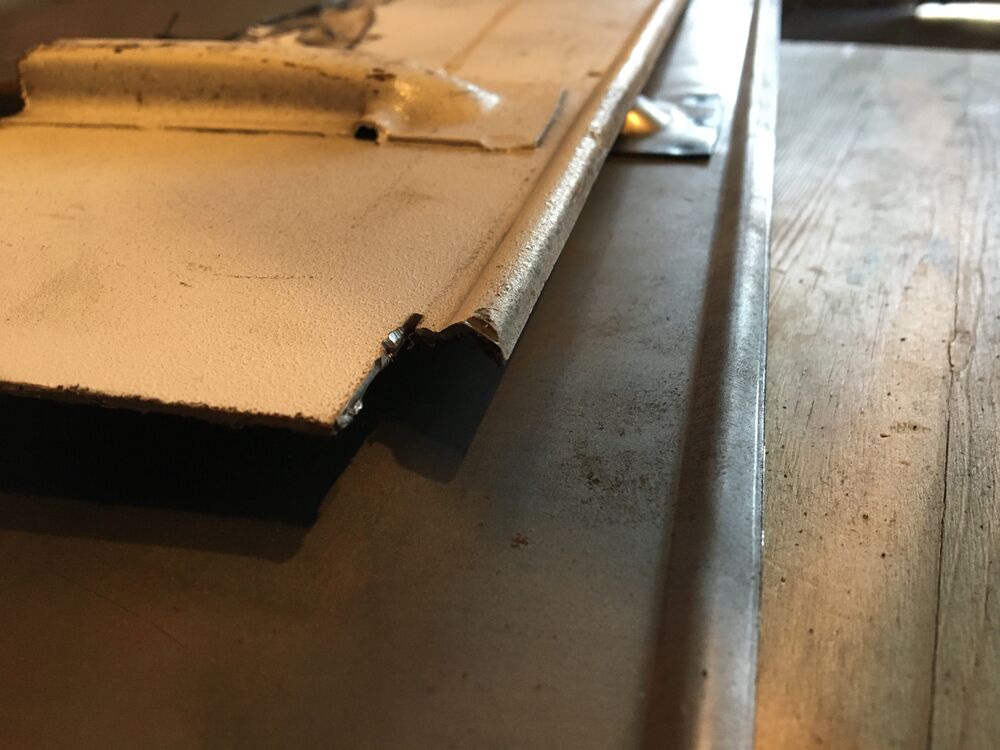
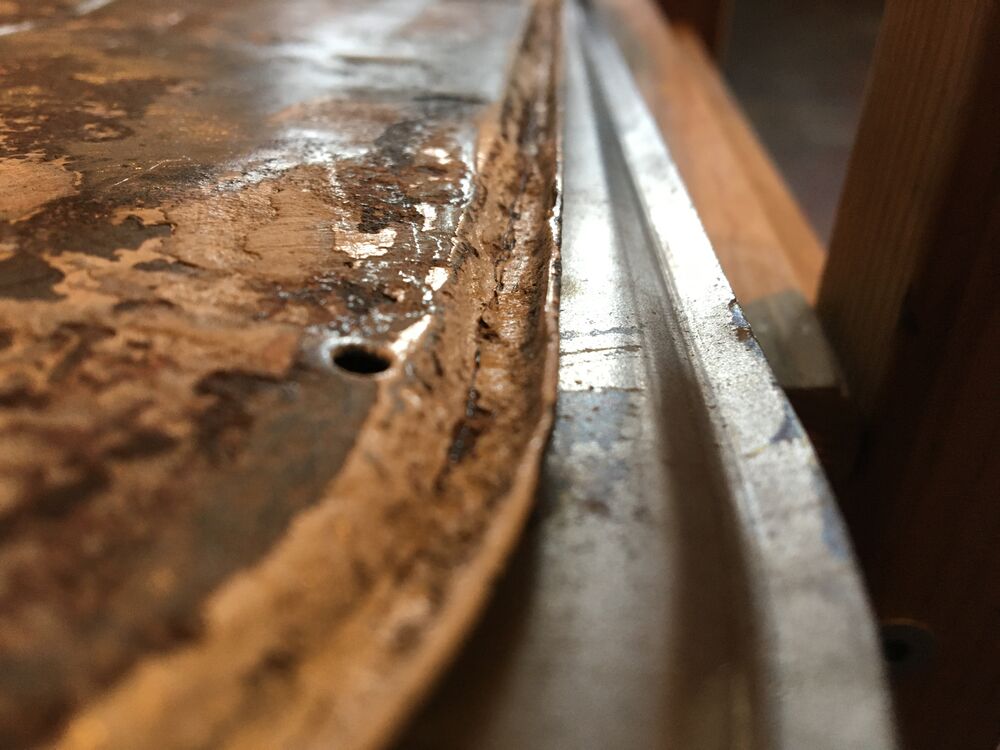
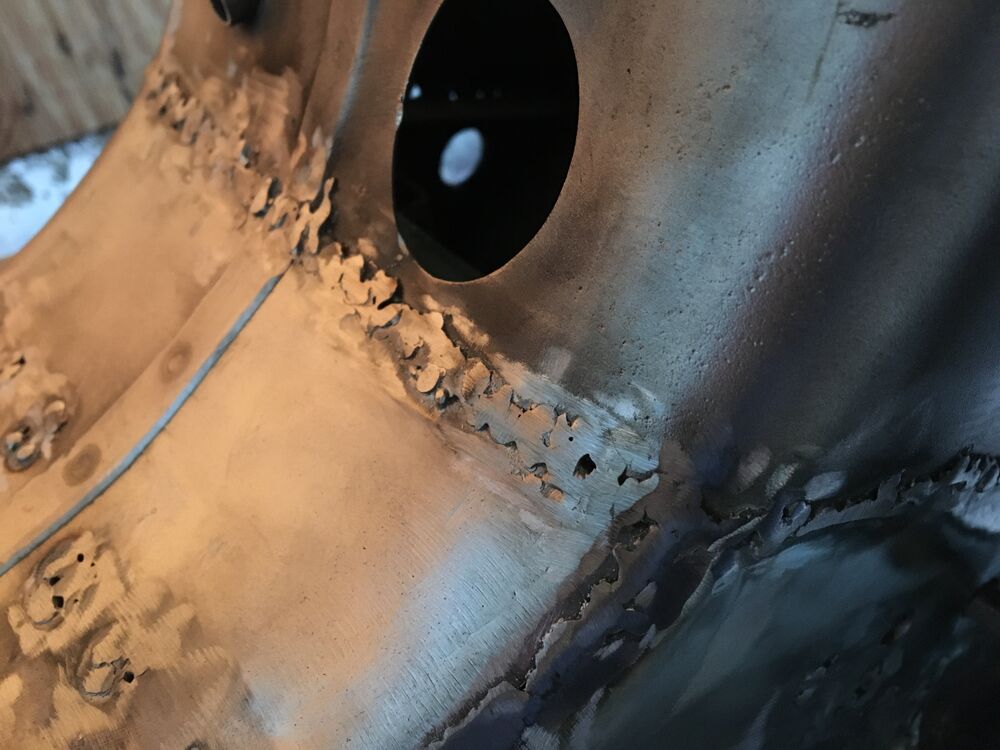
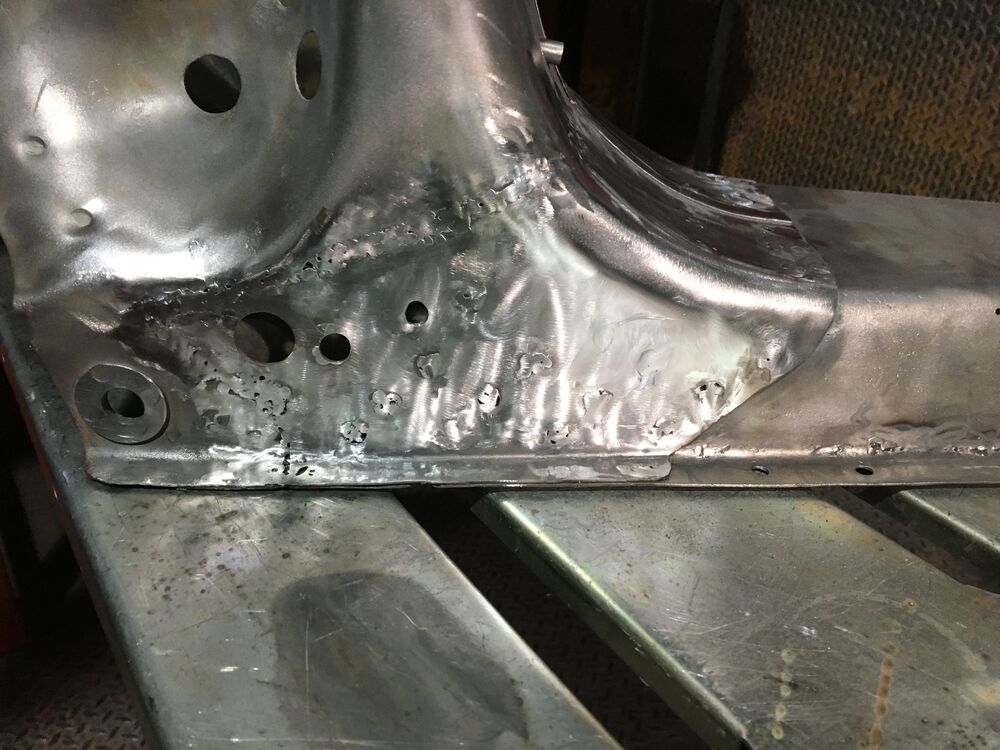
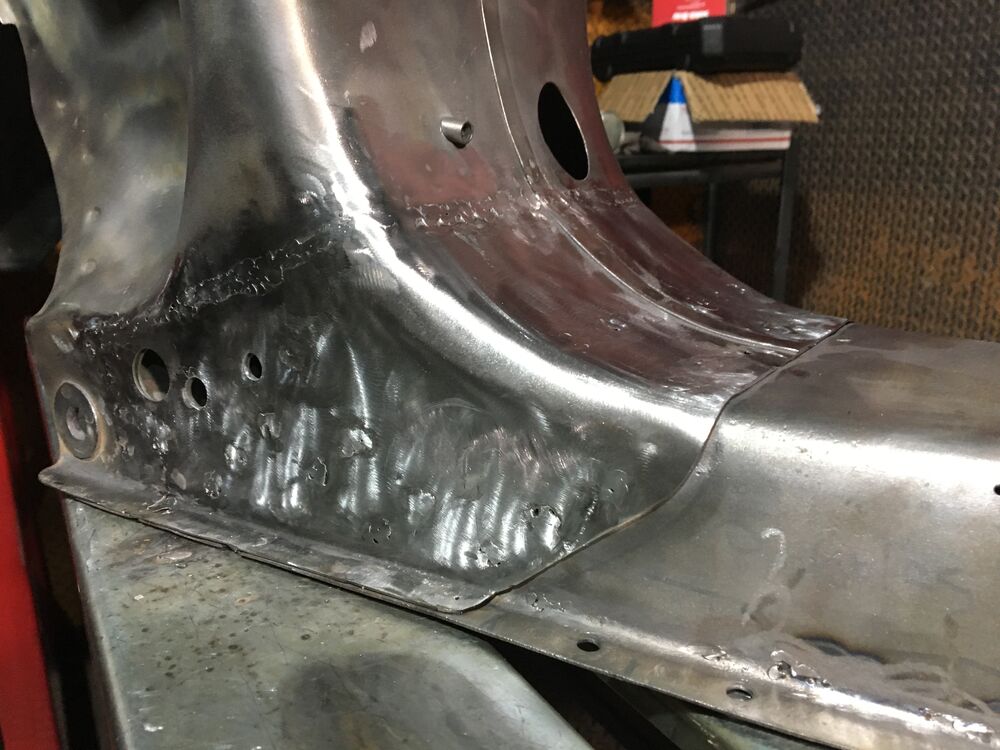
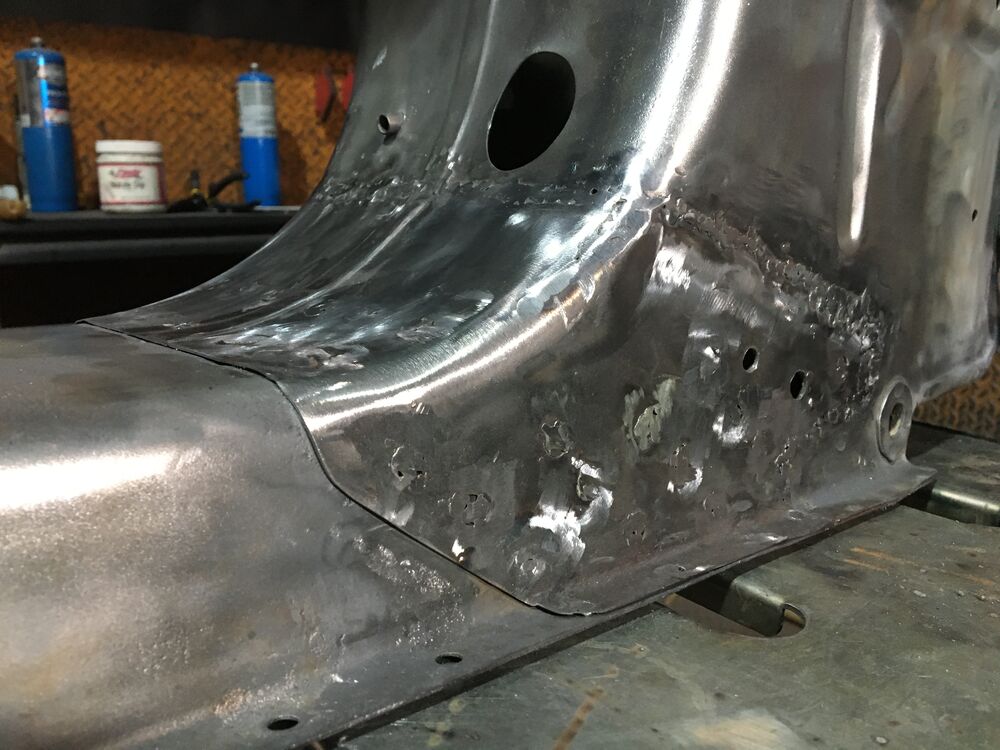
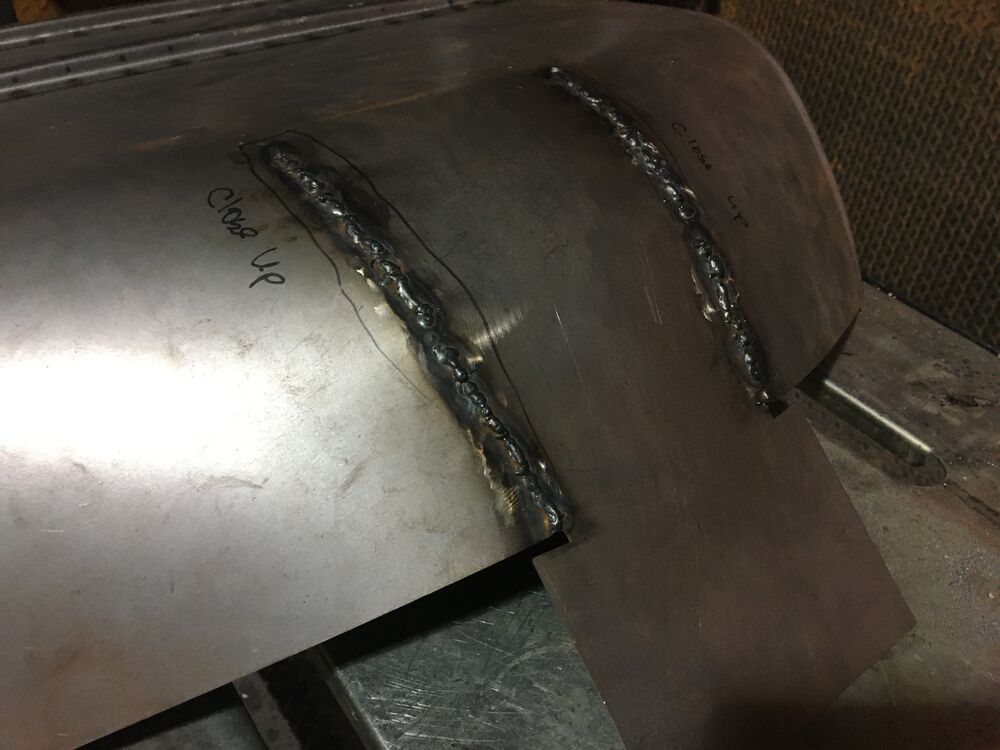
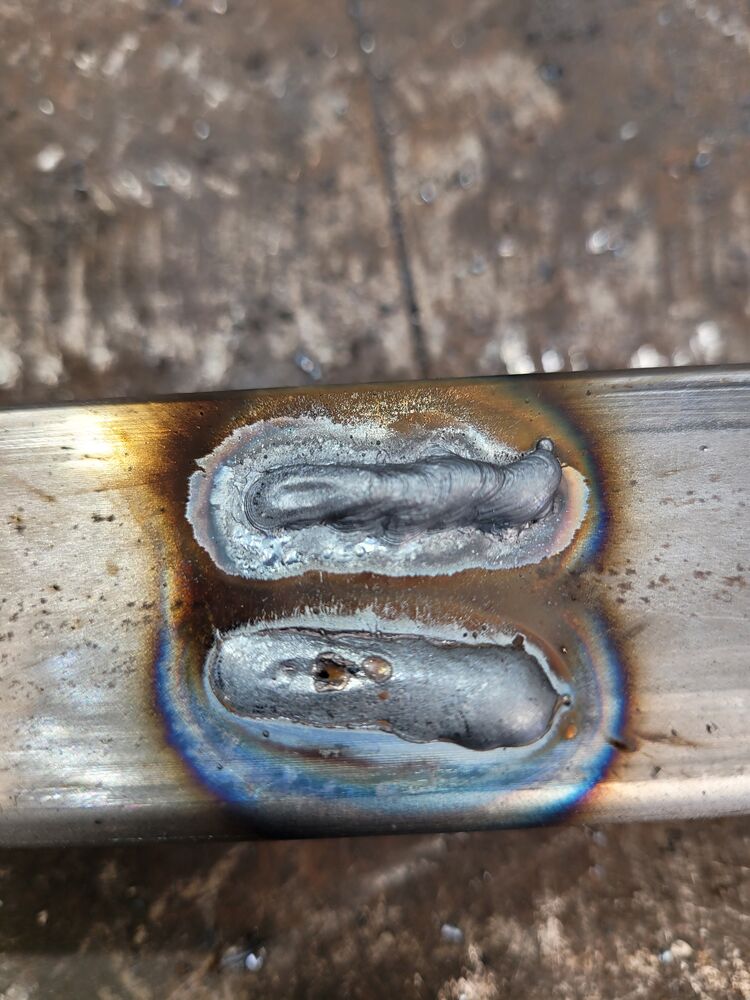
To demonstrate the difference, I just connected my argon tank.
100% argon is a brittle, ugly weld. Mainly, it's unsuitable for plug welds.
|
|
UTC
quote
To demonstrate the difference, I just connected my argon tank.
100% argon is a brittle, ugly weld. Mainly, it's unsuitable for plug welds.
Above argon. Below steel mix, aka C25
|
|
Ossessionato
'64 Motovespa 150S (177) , '65 VBB, '66 Allstate SF, '66 180SS, '58 LD 125 (150)
Joined: UTC
Posts: 2472 Location: NYS |
UTC
quote
Out of curiosity, hjo.... what welder are you using and where do you have it set ? Also what size wire are you feeding it ?
|
|
OP
Molto Verboso
Scattered remnants of (two!) 1974 Rallys
Joined: UTC
Posts: 1847 Location: San Francisco, CA |
UTC
quote
Oh wow. That's so different with co2 mix.
I think it's a Lincoln electric. Not a very expensive one. But seems to work. I don't have any frame of reference. This is so much work!
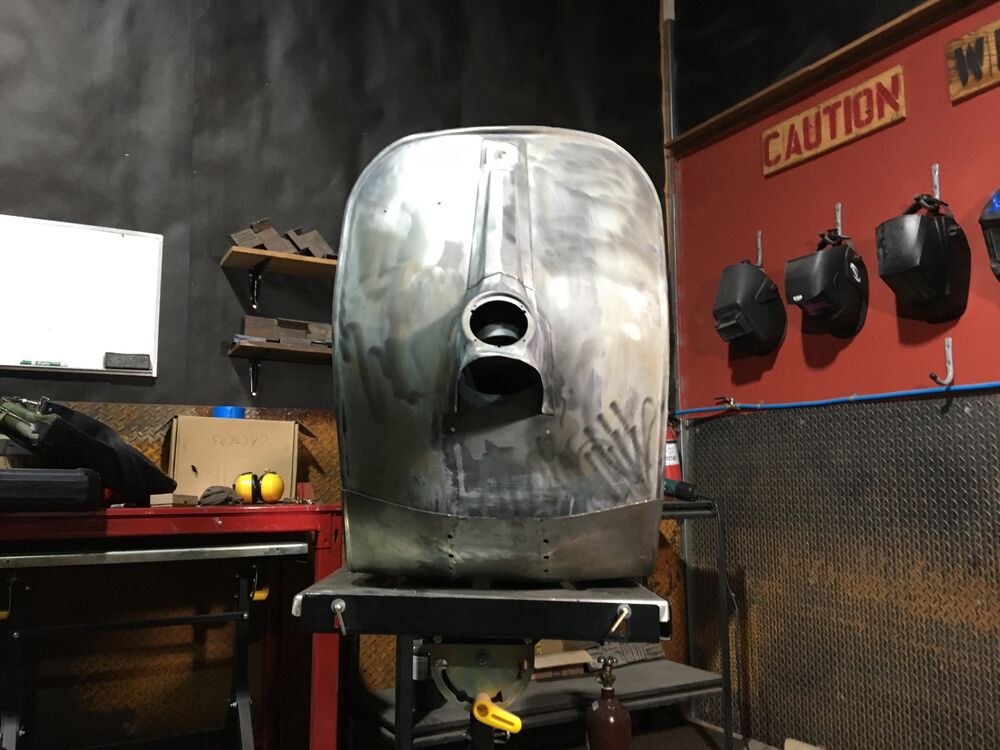
Getting closer
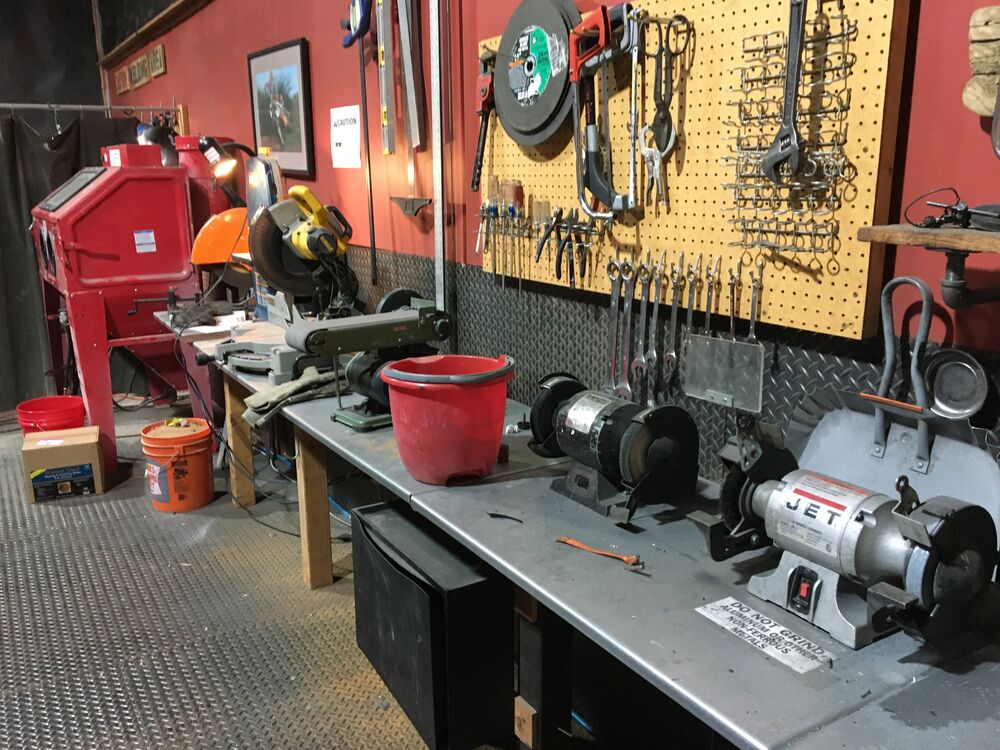
The shop
This thing is great
I love this shop
⚠️ Last edited by hjo on UTC; edited 1 time
Positive
|
|
|
UTC
quote
Looks like the edges line up and your out of the woods. You can always work out the small dent later or even a swipe of filler.
|
|
OP
Molto Verboso
Scattered remnants of (two!) 1974 Rallys
Joined: UTC
Posts: 1847 Location: San Francisco, CA |
UTC
quote
orwell84 wrote: Looks like the edges line up and your out of the woods. You can always work out the small dent later or even a swipe of filler. I can hit the seam from the inside, and make sure it's all sealed up, and really carefully blend it. It's kind of my own variety of bodge now. the corner needs a little cut and fix, but I think it shouldn't be too hard. Then just fixing the tail and attaching the floorboard! Thay probably means 30 more hours of work, but it seems like the frame is saved. |
|
|
UTC
quote
Looks great!
What grit blending disks are you using? Looks too smooth at this point. Get some quality 40's and you can totally sculp those welds, then move up to higher grits if you want and get close to glass. Don't chase every pinhole with your welder. Leave those for filler. |
|
Sergeant at Arms
Weird 80's Vespas & Cool Vintage Lambrettas
Joined: UTC
Posts: 15123 Location: The state of insanity, SoCal |
|
OP
Molto Verboso
Scattered remnants of (two!) 1974 Rallys
Joined: UTC
Posts: 1847 Location: San Francisco, CA |
UTC
quote
greasy125 wrote: so, uhhh... like, not king cobra? asking for a friend |
|
|
UTC
quote
greasy125 wrote: so, uhhh... like, not king cobra? asking for a friend https://www.amazon.com/dp/B07FT47NWN/ref=sspa_dk_detail_6?psc=1p13NParams&spLa=ZW5jcnlwdGVkUXVhbGlmaWVyPUEyNlFFUUtCVzdMUDYwJmVuY3J5cHRlZElkPUEwMjU2MjY1M0RJTjE1Vko5SExMUSZlbmNyeXB0ZWRBZElkPUEwNTcxNTkxM1ZTQVkzRkhSSElMOCZ3aWRnZXROYW1lPXNwX2RldGFpbDImYWN0aW9uPWNsaWNrUmVkaXJlY3QmZG9Ob3RMb2dDbGljaz10cnVl |
|
OP
Molto Verboso
Scattered remnants of (two!) 1974 Rallys
Joined: UTC
Posts: 1847 Location: San Francisco, CA |
|
The Dude
Too Many piles of Junk that need too much work and too much money
Joined: UTC
Posts: 2688 Location: PNW from LBC |
UTC
quote
King Cobra's, Colt 45's, and throw in Some Mickey's grenades and you'll be done in no time
|
|
Veni, Vidi, Posti
79 P200E (Ruby), 62 Allstate (B-62), 63 VBB (Storm)
Joined: UTC
Posts: 5299 Location: Florence, OR |
|
|
UTC
quote
qascooter wrote: Big Mouths! That's all I drank for many-a-year... |
|
Not So Moderator
VNB VSC VSX Li150 09C C125 - (vmb vse v9b)
Joined: UTC
Posts: 10825 Location: Hustletown, TX |
|
|
UTC
quote
The dremel really your friend for grinding down welds. I use Rolac disks to get the heavy stuff off, but they are quite aggressive and can easily slip and gouge. Remember that the weld seam always makes a ditch so you will never get it flat by grinding without thinking the adjoining metal a lot. I wouldn't bother hammer and dollying to get it flat. A thin swipe of filler will make it go away.
I end up chasing every pinhole after grinding since I already have everything out and it doesn't take that much longer. You're doing a super job. It takes a lot of time, but it's well worth it and you did it yourself. Restoring any sheet metal vehicle is pretty much the same deal, though every job is a little different with at least one thing that needs some extra figuring and fettling. It's probably been my favorite part of working on my bus. I can build an engine, but sheet metal is really my thing. |
|
OP
Molto Verboso
Scattered remnants of (two!) 1974 Rallys
Joined: UTC
Posts: 1847 Location: San Francisco, CA |
UTC
quote
Thanks!
All that other stuff is so easy! But it's really muscle memory. I know so well. It's been fun learning to work with metal. That's become the major hurdle with these bikes as they reach this age. |
|
OP
Molto Verboso
Scattered remnants of (two!) 1974 Rallys
Joined: UTC
Posts: 1847 Location: San Francisco, CA |
UTC
quote
Cutting a v really worked!
It's a little bit frankensein, but got the bridge piece to work. I pictured it being perfect and needing no body filler, but I guess this is as good as I can do. At least the metal is strong (I hope). I got it so that that no light shines through. The most difficult part done!
cut
That really worked!
All blended.
Removed the brace
⚠️ Last edited by hjo on UTC; edited 1 time
|
|
|
|
OP
Molto Verboso
Scattered remnants of (two!) 1974 Rallys
Joined: UTC
Posts: 1847 Location: San Francisco, CA |
UTC
quote
I took the week off from the shop, but back this week!
This needs another round of touch up. I think the 2" die grinder should work.
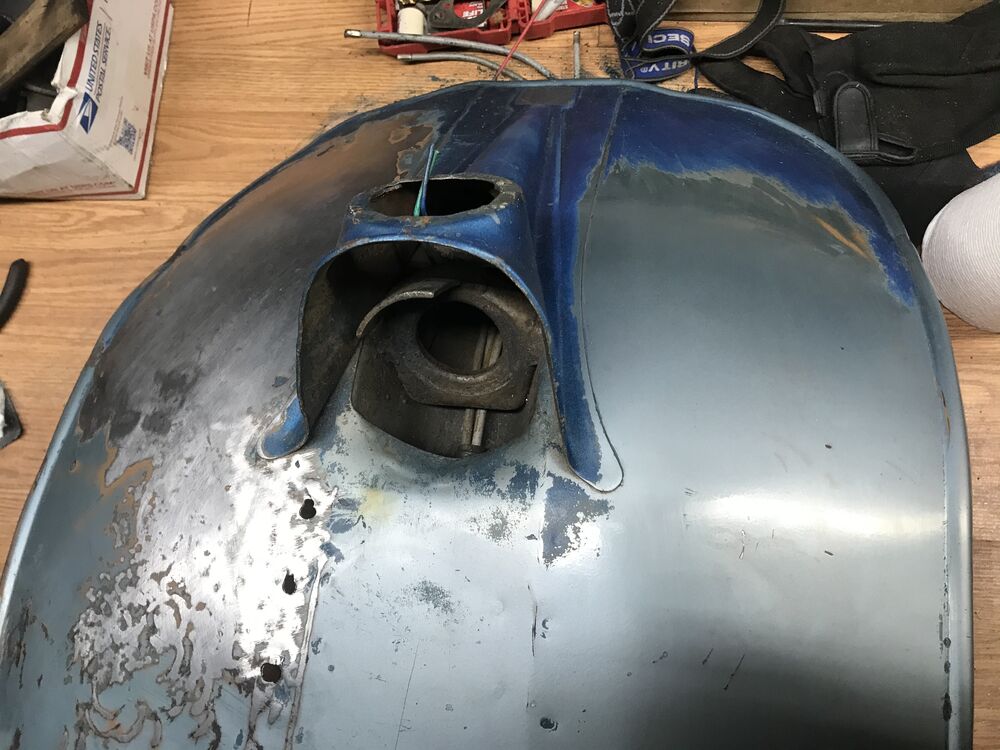
Got the holes for the cowls and wires to work
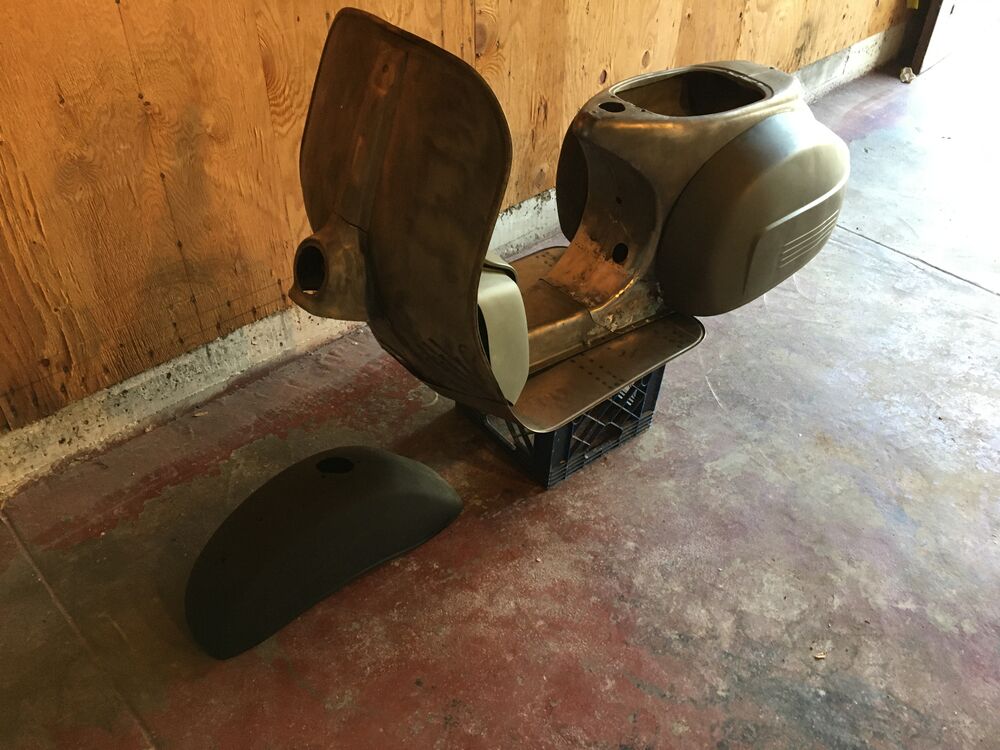
The cowls fit back on!
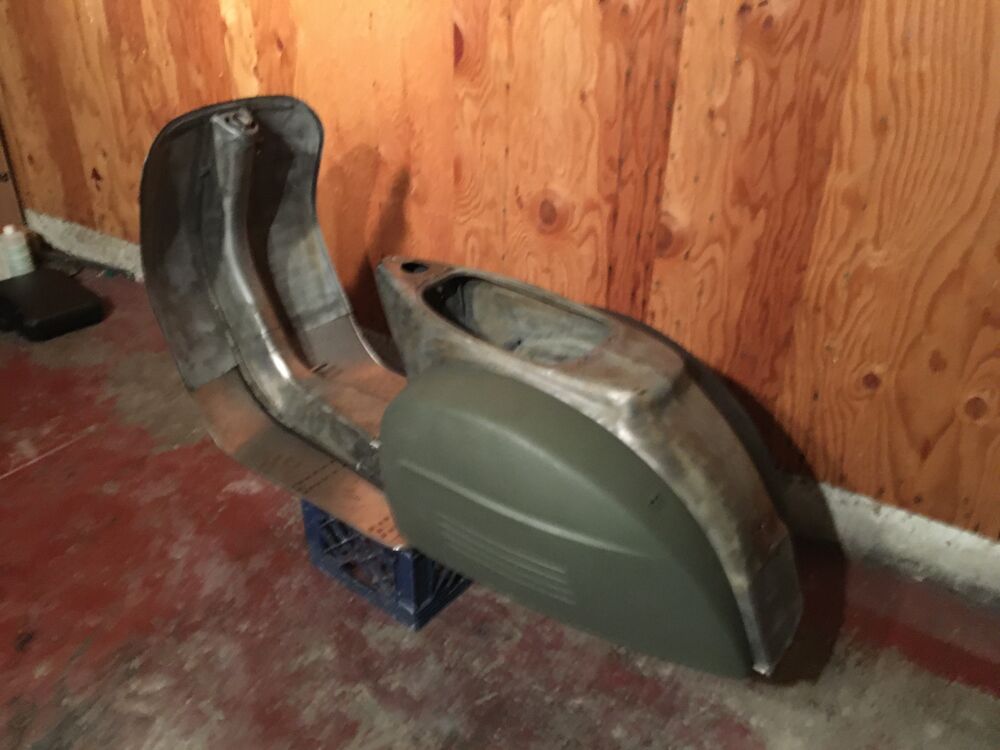
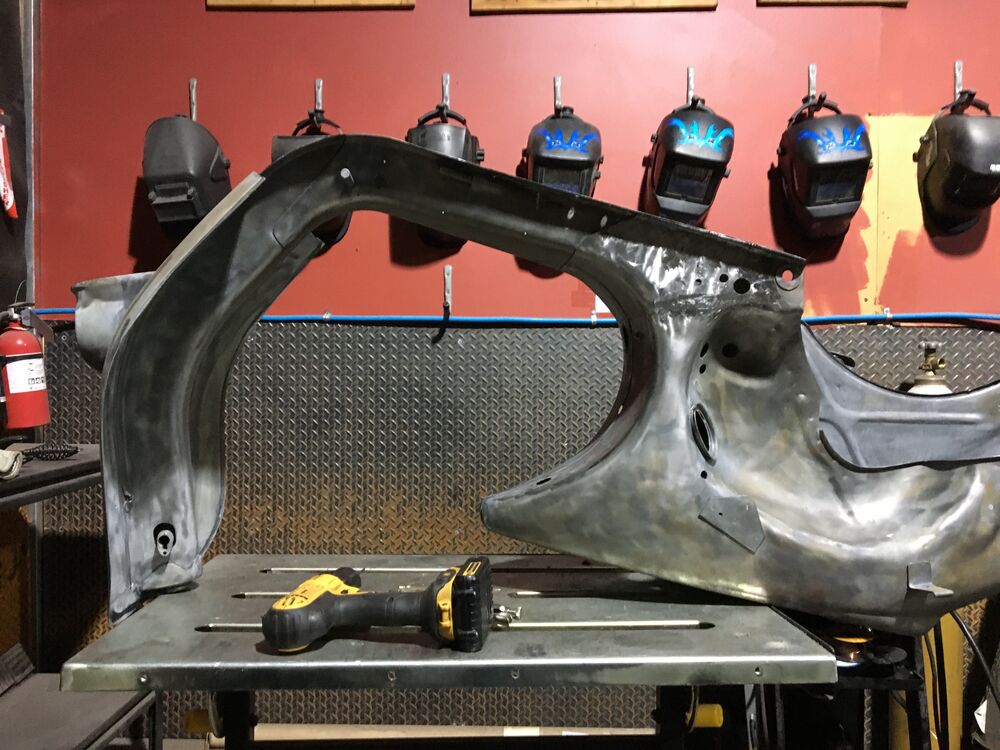
Almost looks like a Vespa
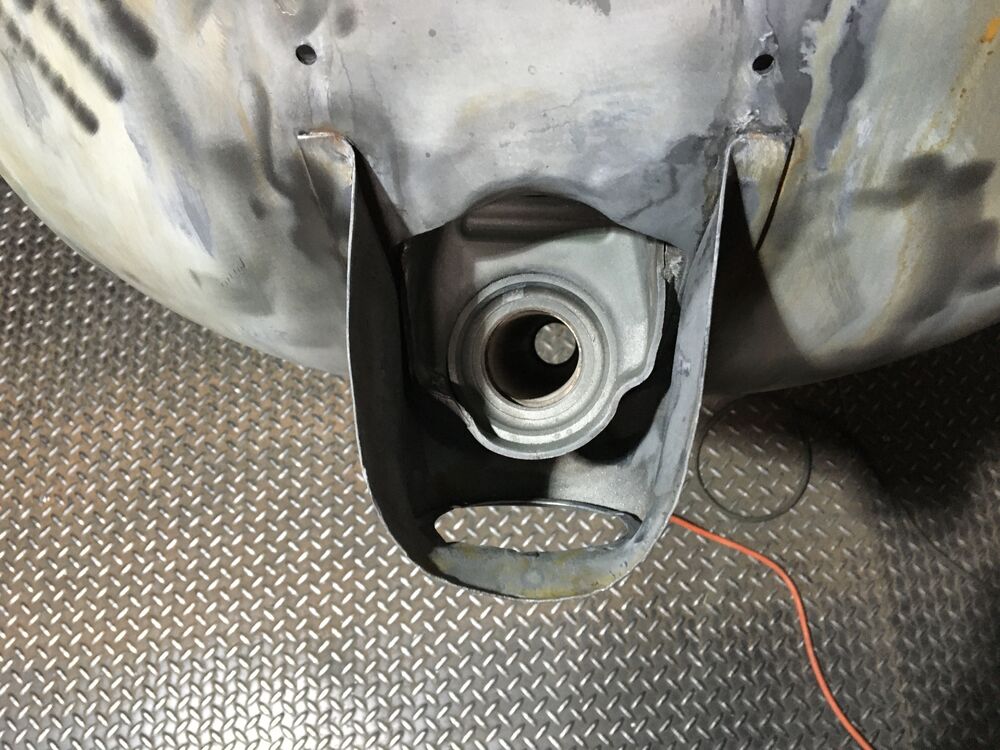
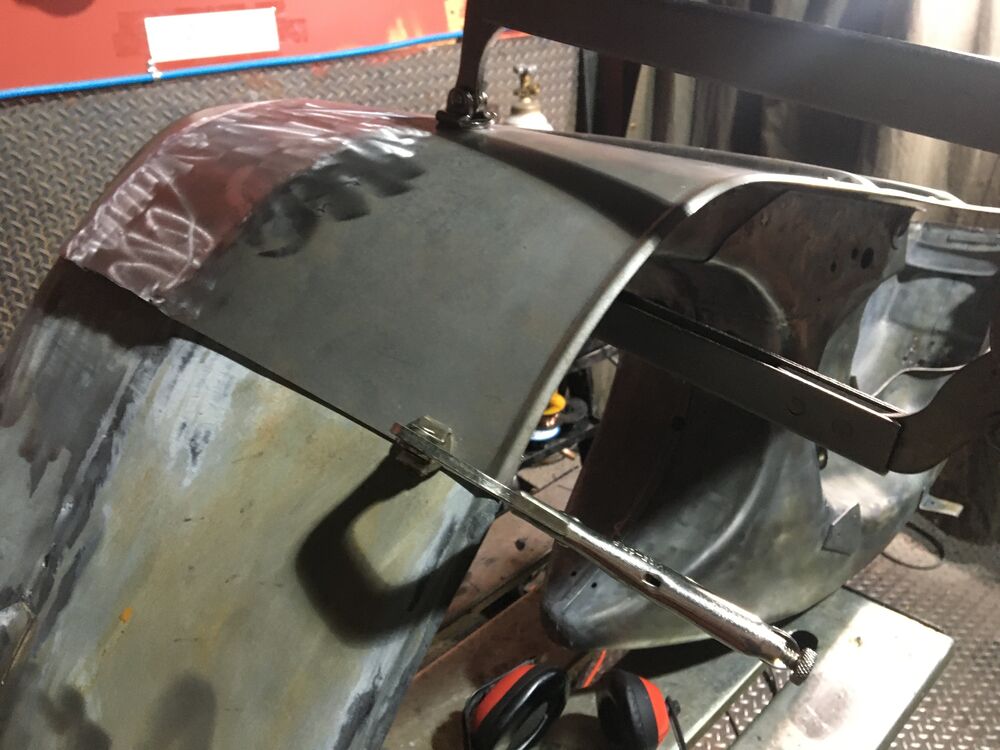
This really bothers me. The bead here is wrong.
It's very shallow, and the original ends at a 90 degree angle.
I think I can fabricate something like this to match the original one, but the curved part at the back would be really hard.
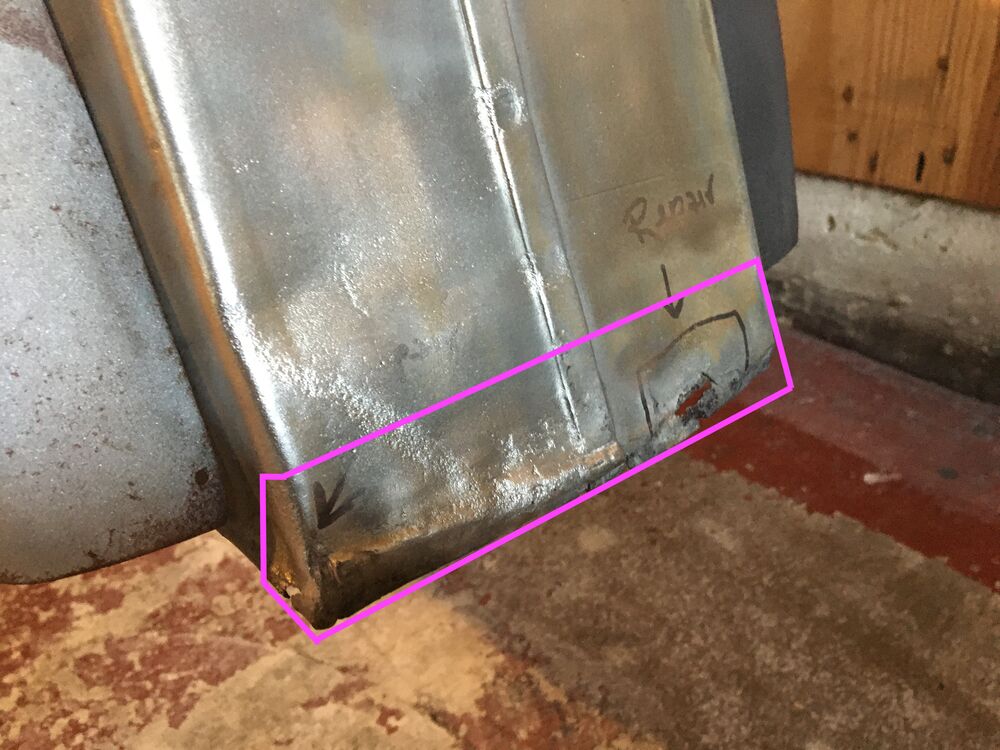
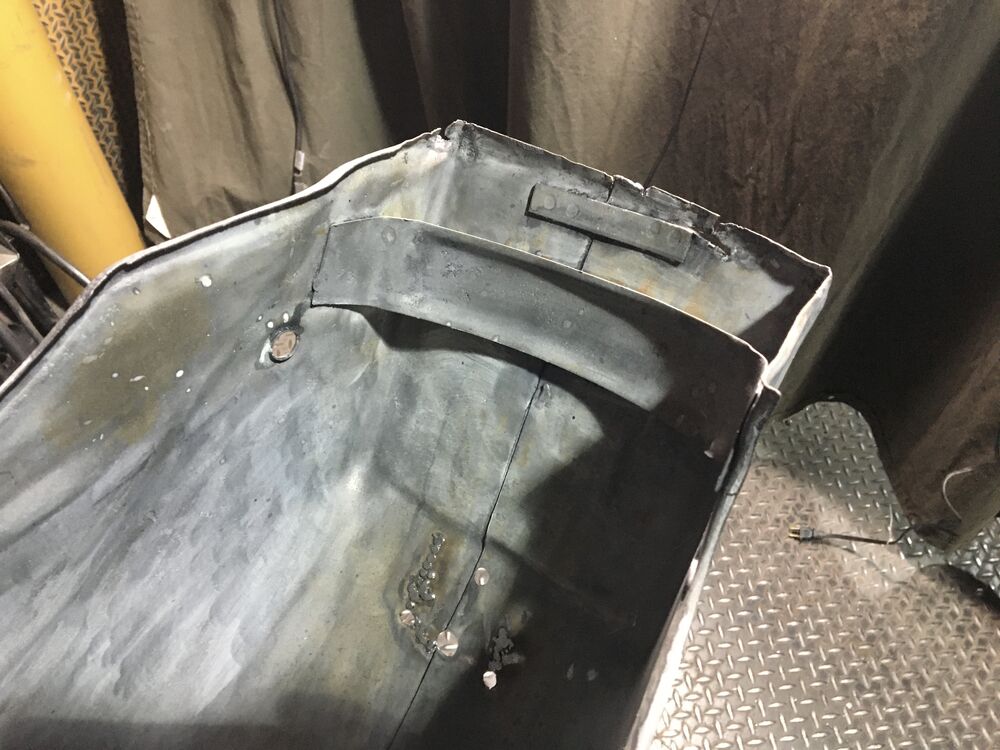
The tail is funky. I think i can fix the dent at the top by clamping the sides. The brace on the inside got misshaped with an impact.
Maybe the best approach here is to fabricate this? It's pretty simple. Straight lines. The hard part would be the corners and faking the seam.
The nose looks funky.
The shape is off a bit, and the fork stop is funky.
I didn't grind all the way down, but hopefully these work on the last step. There's no light shining through.
|
|
|
UTC
quote
Patch looks great.
The back end- It looks like it has to be hammered and dollied out from the inside where it is pushed in. Move it back out. Then you can straighten the sides. It's hard to tell what going on with the bottom part. If possible leave the seam in place and patch around it. I would remove as little as possible. |
|
UTC
Innovator
63 GL, 62 VBB, 05 Stella, 66 Smallstate, 66 Lammy S3, 63 Lammy S3 Riverside
Joined: UTC
Posts: 13201 Location: Nashville 362 Days Since Last Explosion |
|
|
Innovator
63 GL, 62 VBB, 05 Stella, 66 Smallstate, 66 Lammy S3, 63 Lammy S3 Riverside
Joined: UTC
Posts: 13201 Location: Nashville 362 Days Since Last Explosion |
UTC
quote
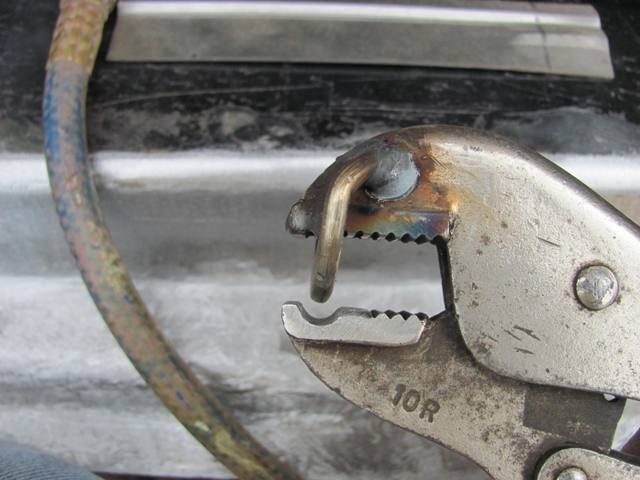
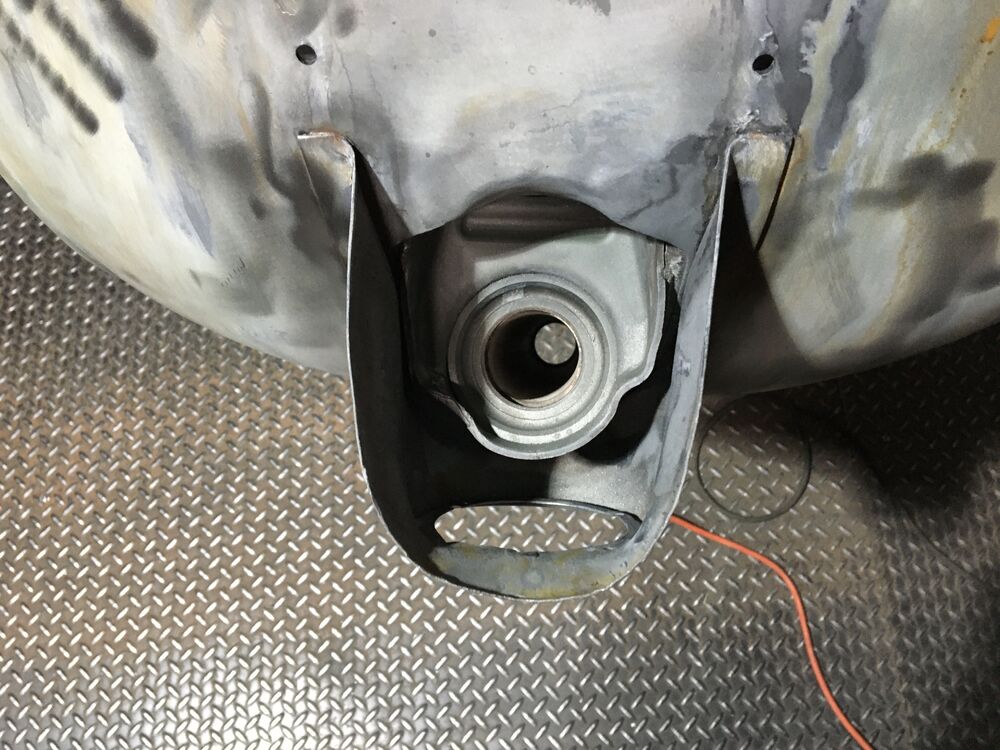
Now is the time to fix the fork stop. Dry fit the fork, see if it doesn't hit the stop cleanly, and adjust with a pair of vice grips until it does.
Doing it with the fork in the bike is considerably less fun. And that dent on the back is so clean, it almost looks deliberate. Or maybe someone had a rack on there with a support bar that sat at that point. Either way, as Orwell said, hammer it out from the inside. Project is looking great. It's going to be awesome. |
|
|
UTC
quote
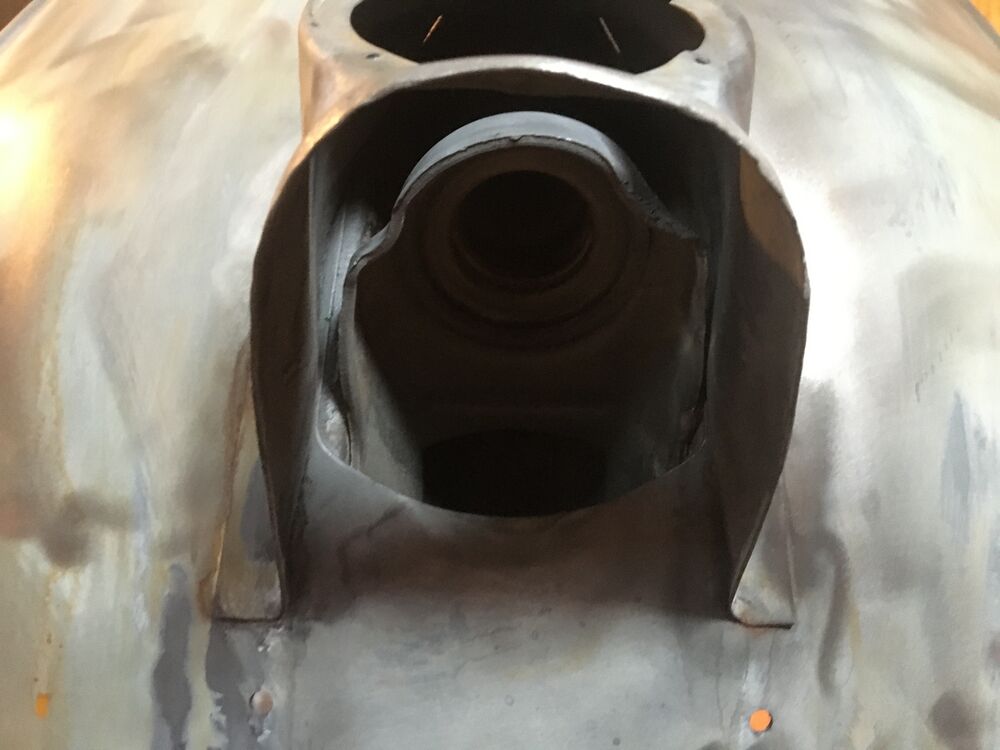
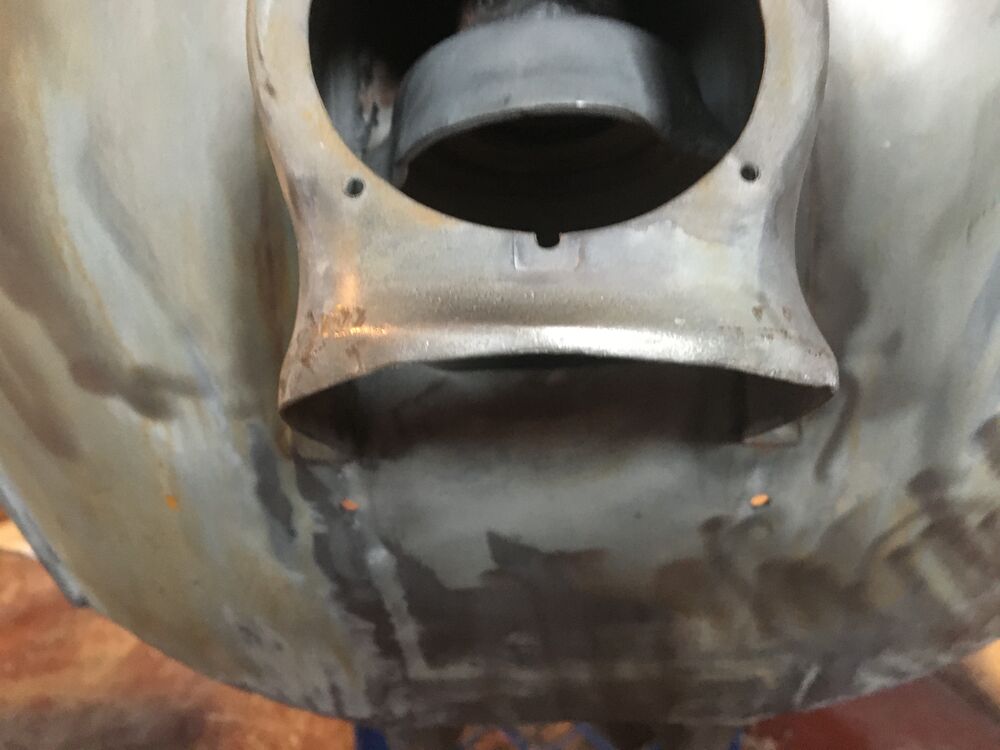
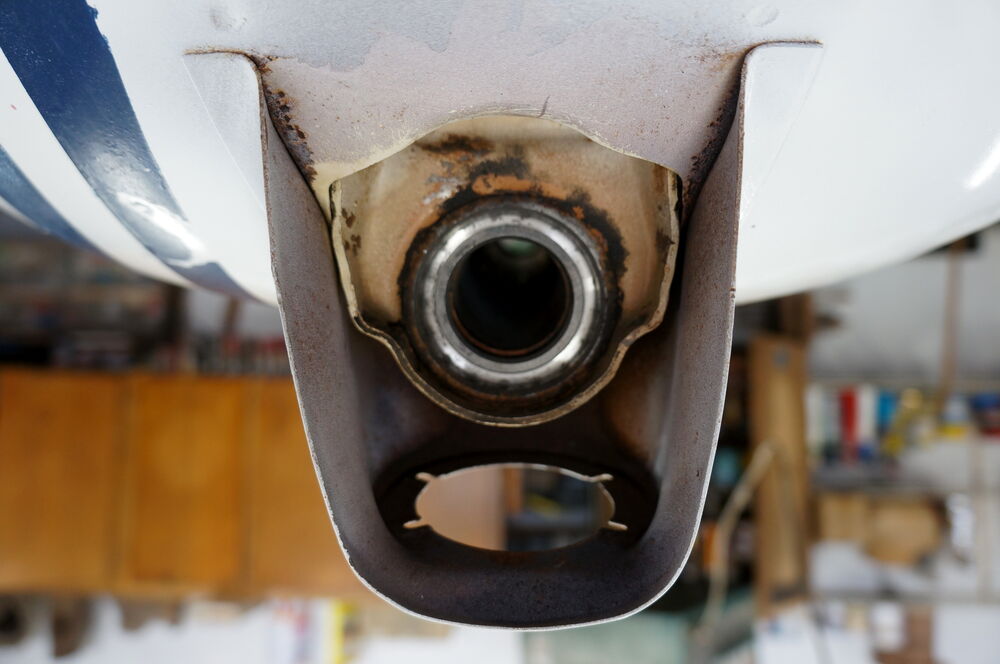
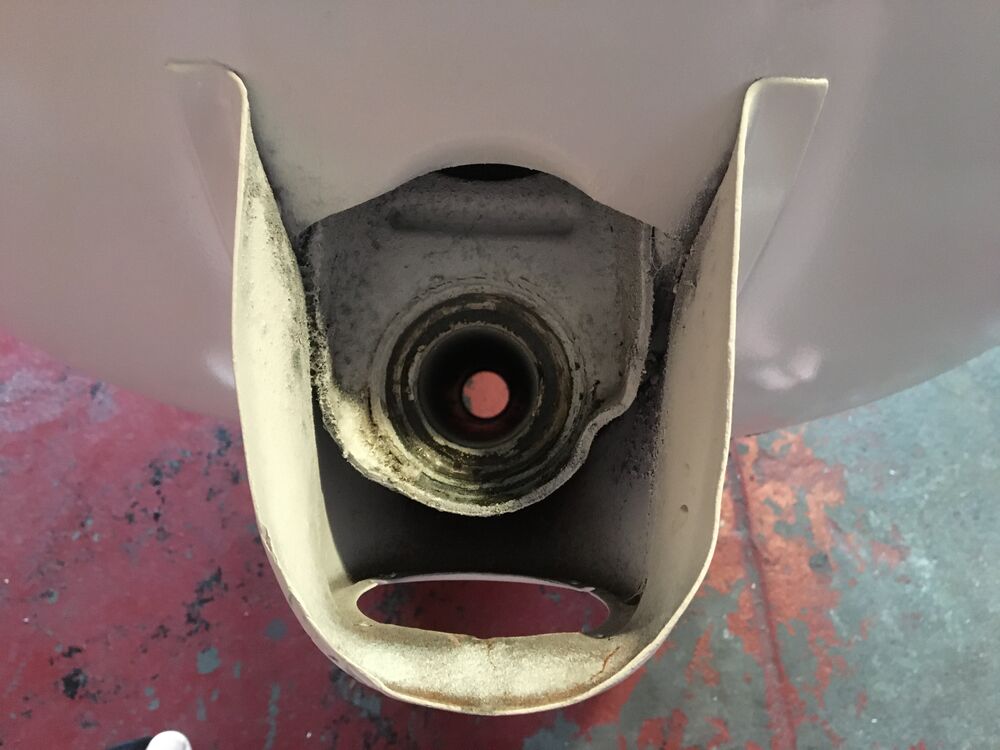
As for the horn casting; one side is more curved along the bottom and one side more straight. I'm not sure which side is more correct. The crease across the front…I'm not sure if that's how it was made.
It could also be that the metal behind it is pushed in somewhat. I would start by getting some photos of a pristine example to figure out what shape it actually should be. The adjustments should be minor. My VBB has the same kind of deal going on with that area. It might even need some frame straightening. But mine definitely took a hit up front.
|
|
Ossessionato
'64 Motovespa 150S (177) , '65 VBB, '66 Allstate SF, '66 180SS, '58 LD 125 (150)
Joined: UTC
Posts: 2472 Location: NYS |
UTC
quote
Here's a shot of my SS which looks the same. The left side is slightly out but the right is good. Also note that on this bike the stops are even. Yours looks like it might have been re-formed at some point.
|
|
OP
Molto Verboso
Scattered remnants of (two!) 1974 Rallys
Joined: UTC
Posts: 1847 Location: San Francisco, CA |
UTC
quote
Moto64 wrote: Here's a shot of my SS which looks the same. The left side is slightly out but the right is good. Also note that on this bike the stops are even. Yours looks like it might have been re-formed at some point. The fork stop was completely pushed out. I tried to re-form with a vise grip, but it's very hard to get in there. I made it look kind of chewed. I will try the trick with cutting a slot in a metal bar. I have a metal shop I can use. On my P, it was so easy. I just chiseled back in, but horn cast here is in the way.
Before.
Yikes. Can I fix this?
⚠️ Last edited by hjo on UTC; edited 1 time
|
|
OP
Molto Verboso
Scattered remnants of (two!) 1974 Rallys
Joined: UTC
Posts: 1847 Location: San Francisco, CA |
UTC
quote
orwell84 wrote: Patch looks great. The back end- It looks like it has to be hammered and dollied out from the inside where it is pushed in. Move it back out. Then you can straighten the sides. It's hard to tell what going on with the bottom part. If possible leave the seam in place and patch around it. I would remove as little as possible. I think that should work! There are still some unfilled spots, but I don't think along the top seam. No light shines through. The ones that were plug welds were hard to fill. I think the 7.5mm drill bit was too big. I might just leave and use filler with some. It's less finished than I was thinking. But just one more round! |
|
OP
Molto Verboso
Scattered remnants of (two!) 1974 Rallys
Joined: UTC
Posts: 1847 Location: San Francisco, CA |
UTC
quote
My Ameribodge.
Coming along.
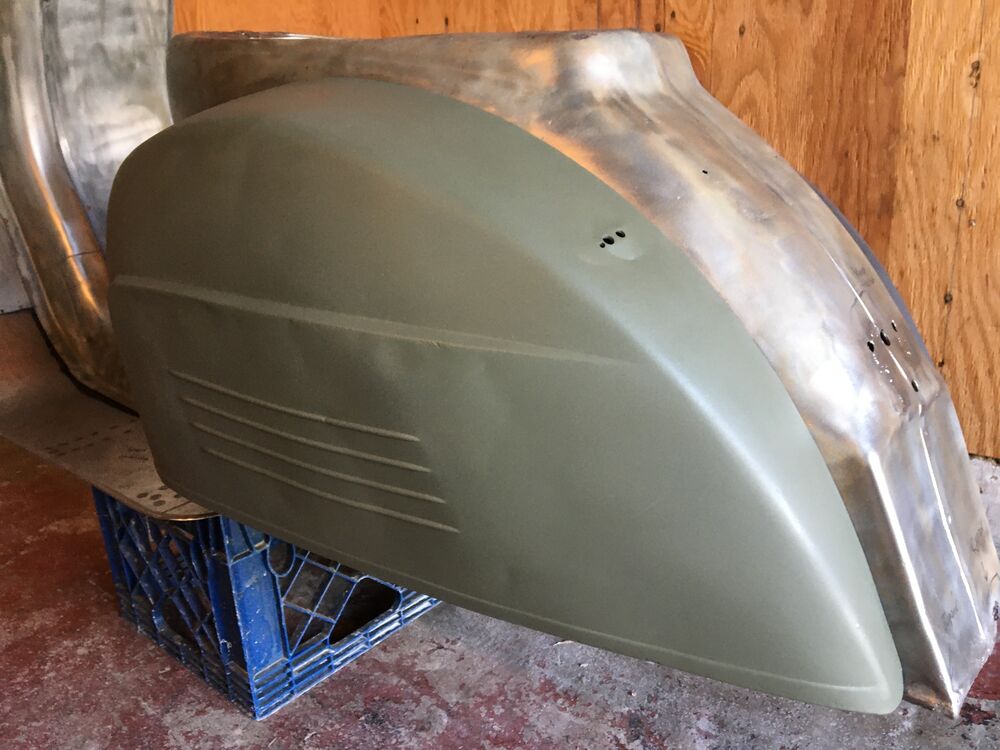
After the die grinder. Still some pinholes, but I think it's ok? I don't want to grind too much.
I think some skim coat and it's good!
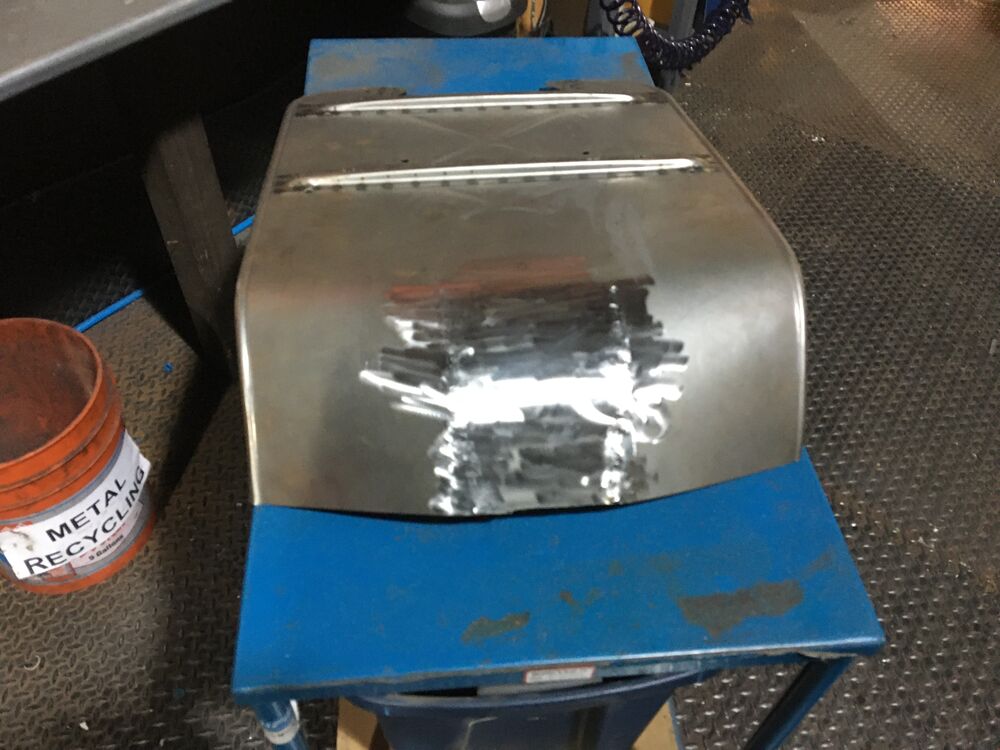
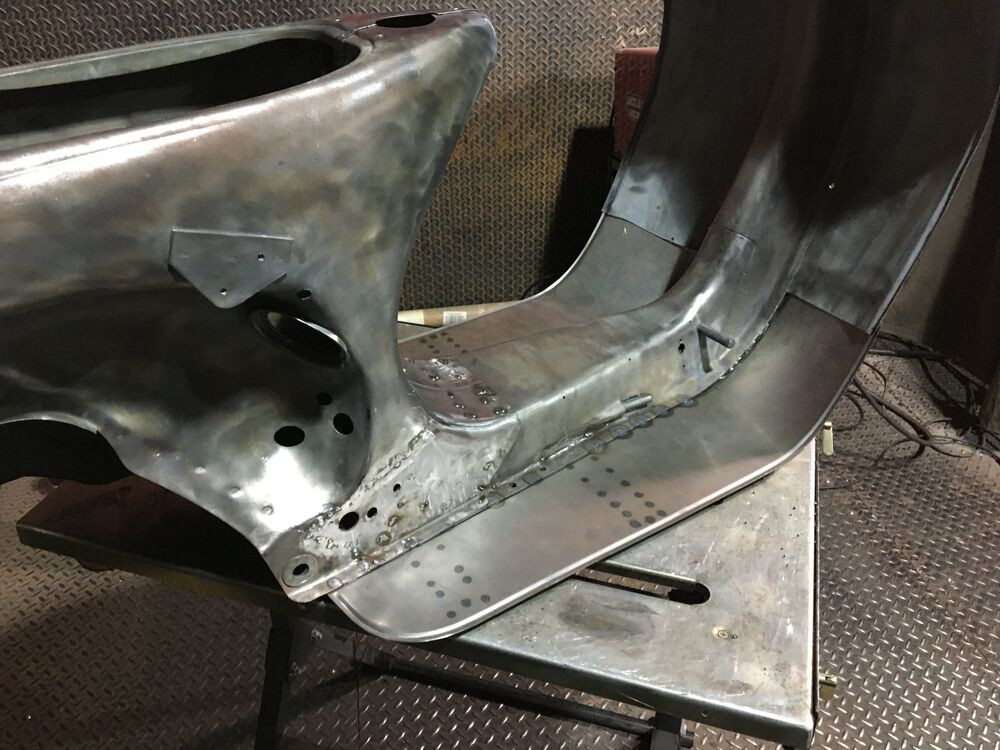
On to the floorboard. But ran out of argon again. Shared shop. Going to get the mix with Co2
First attempt at fabricating the seam for the tail area.
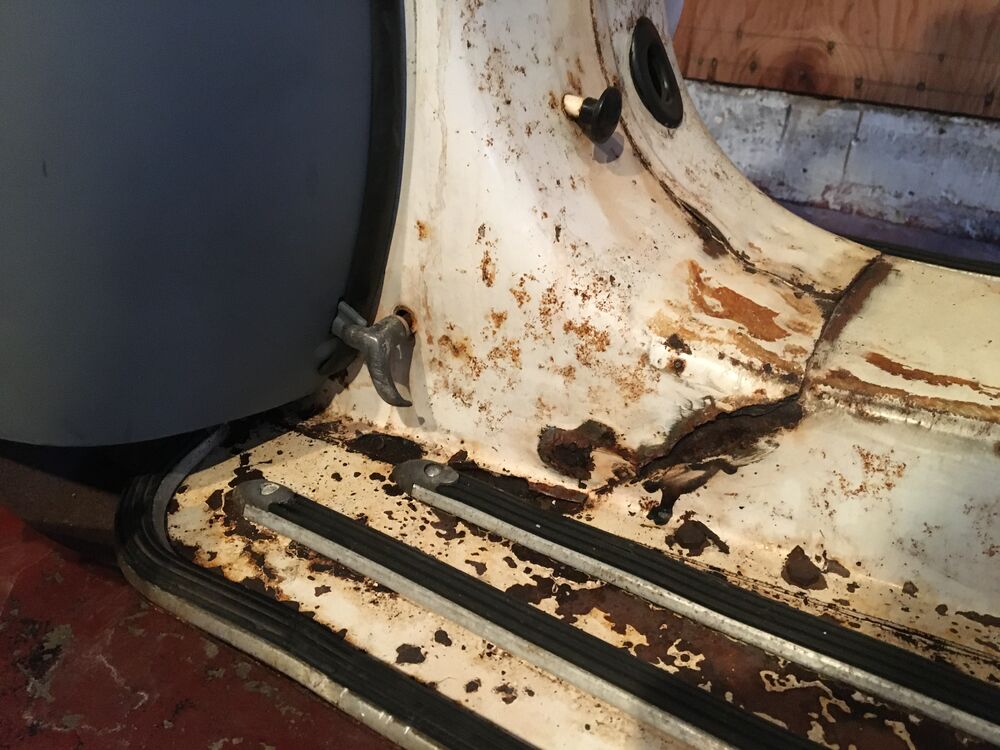
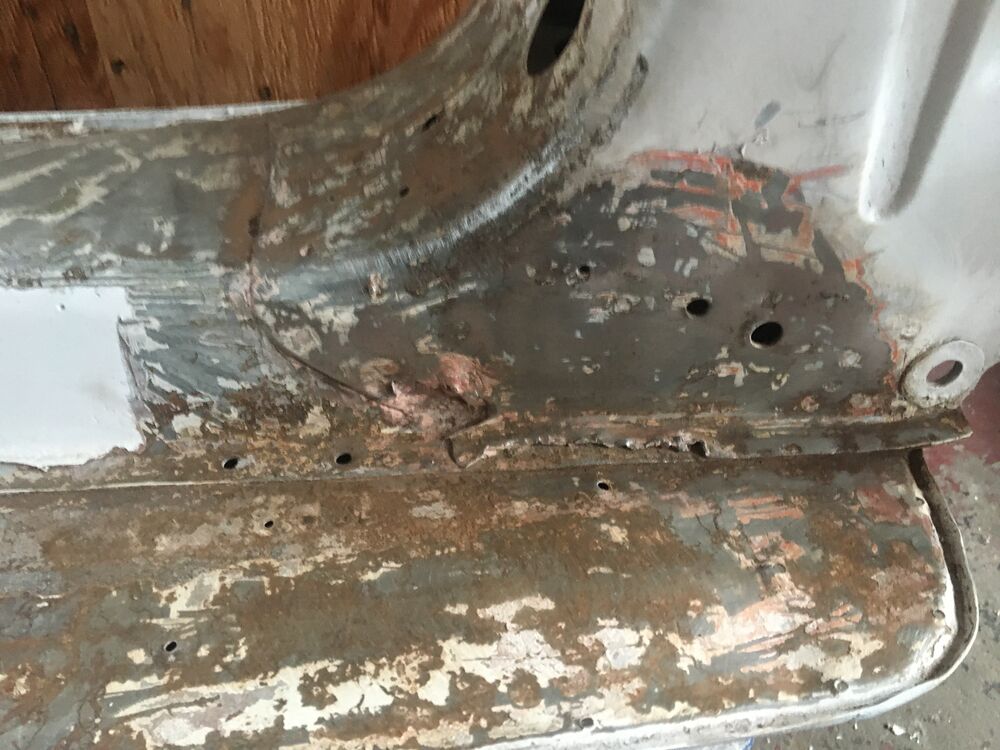
Before shots
|
|
Ossessionato
'64 Motovespa 150S (177) , '65 VBB, '66 Allstate SF, '66 180SS, '58 LD 125 (150)
Joined: UTC
Posts: 2472 Location: NYS |
|
|
|
OP
Molto Verboso
Scattered remnants of (two!) 1974 Rallys
Joined: UTC
Posts: 1847 Location: San Francisco, CA |
UTC
quote
This thing is becoming my life's work.
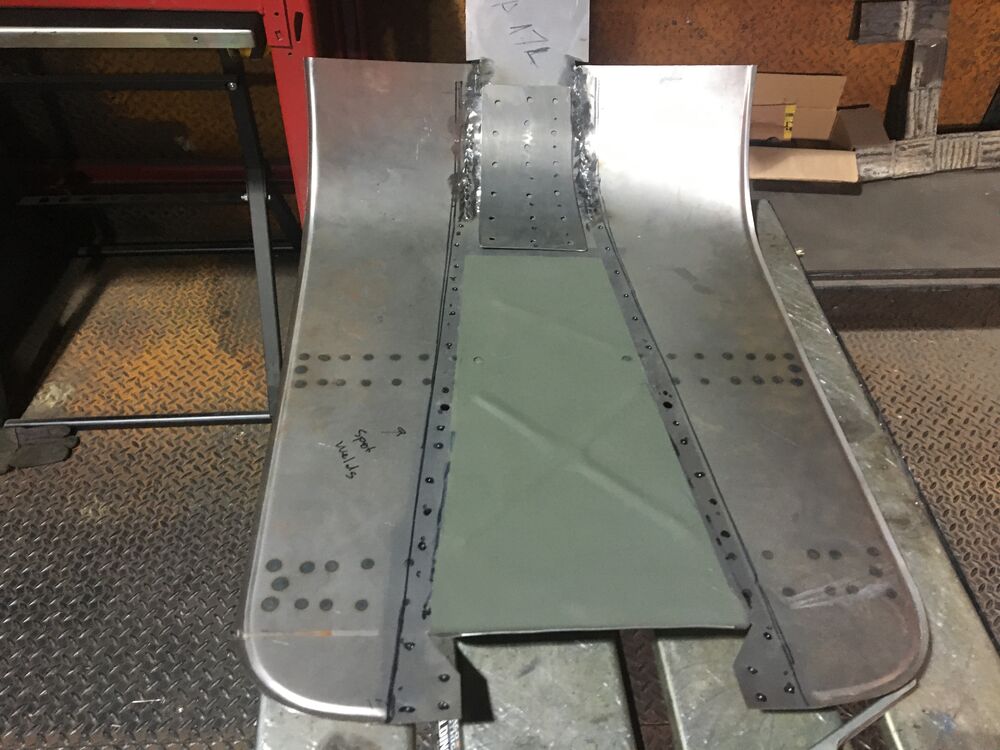
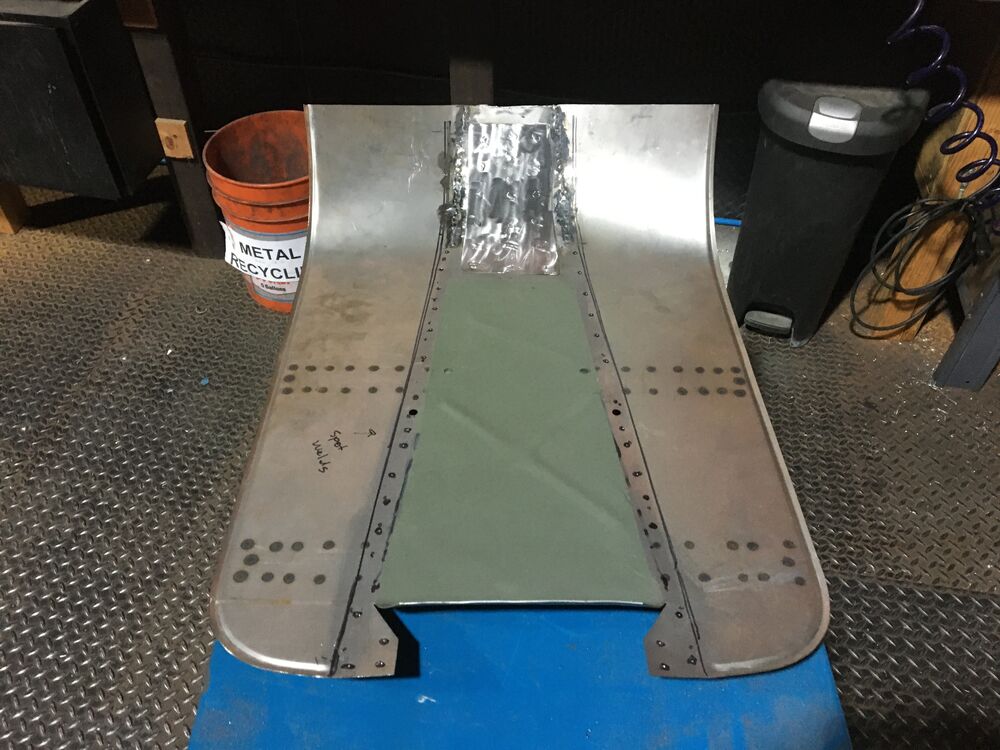
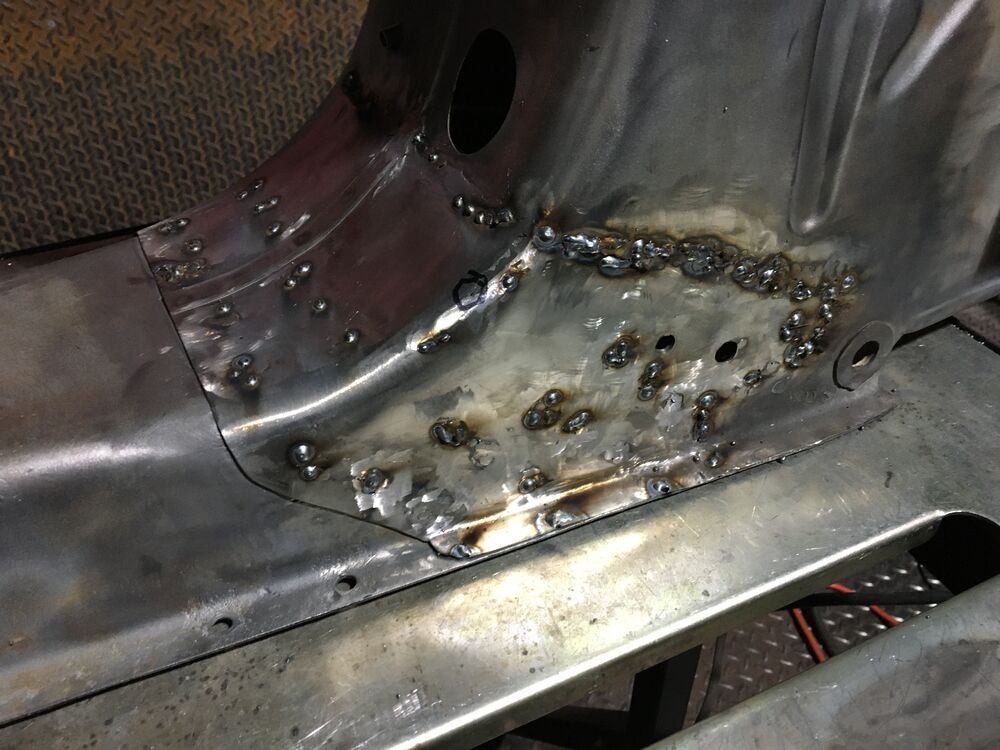
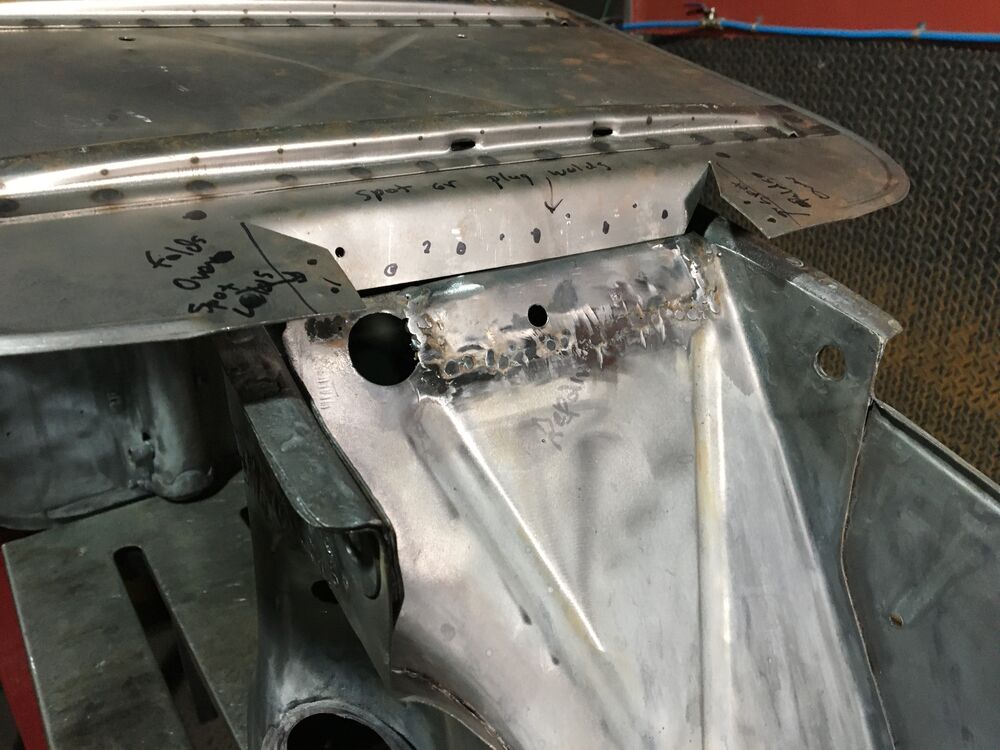
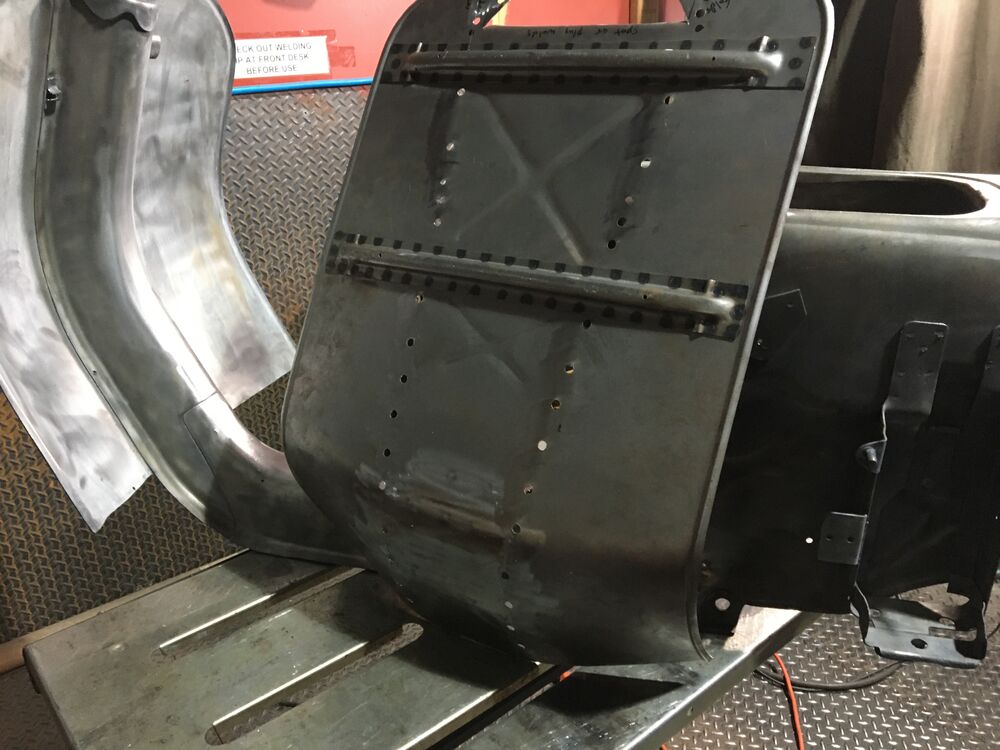
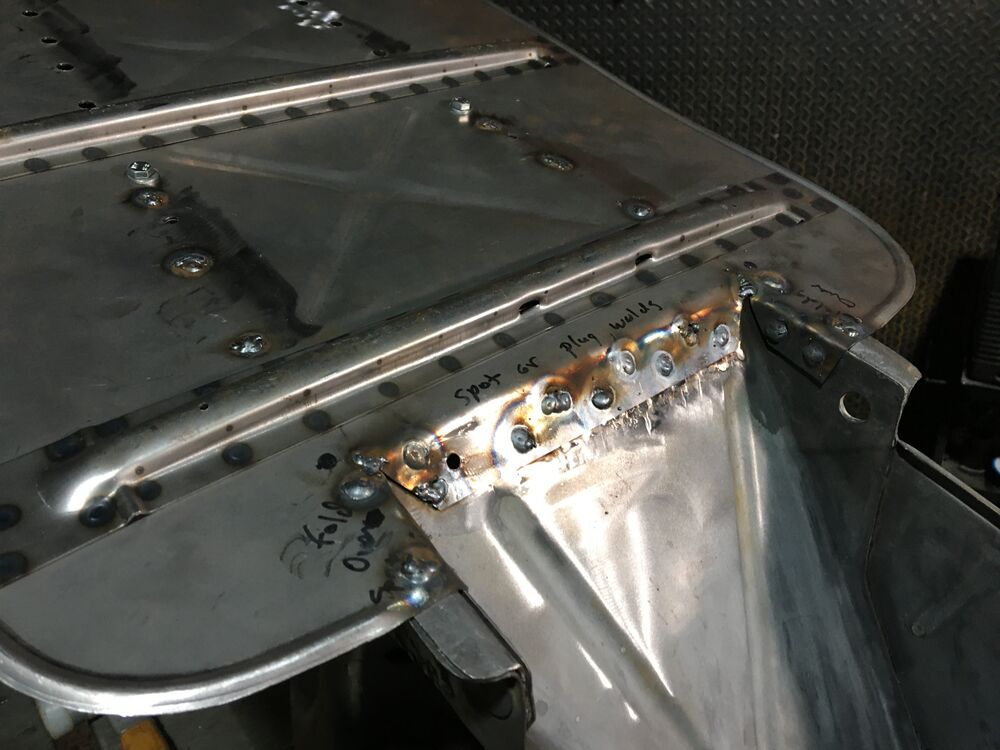
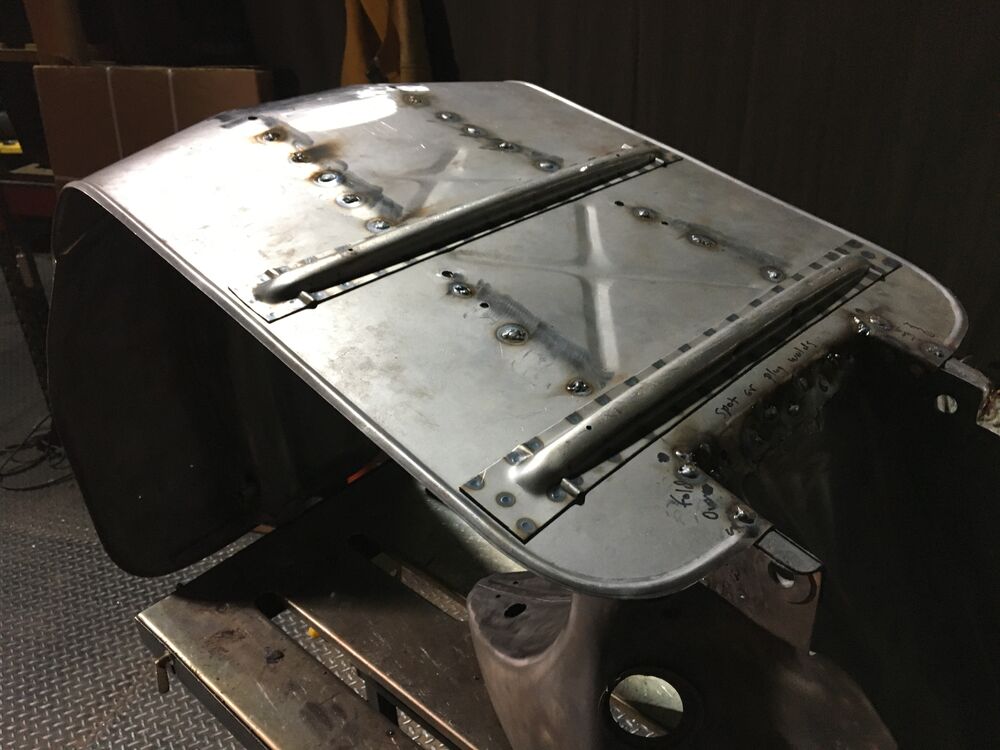
Got the argon/co2 mix. It welds so much better. I closed up these seams in one pass.
Blurry, but clean!!
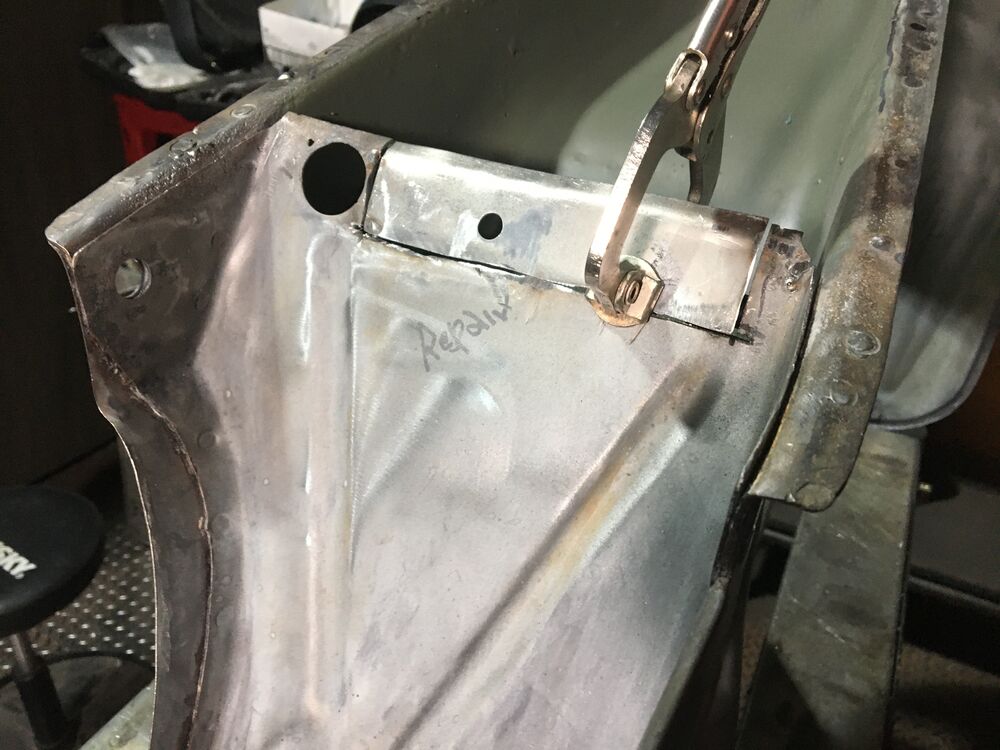
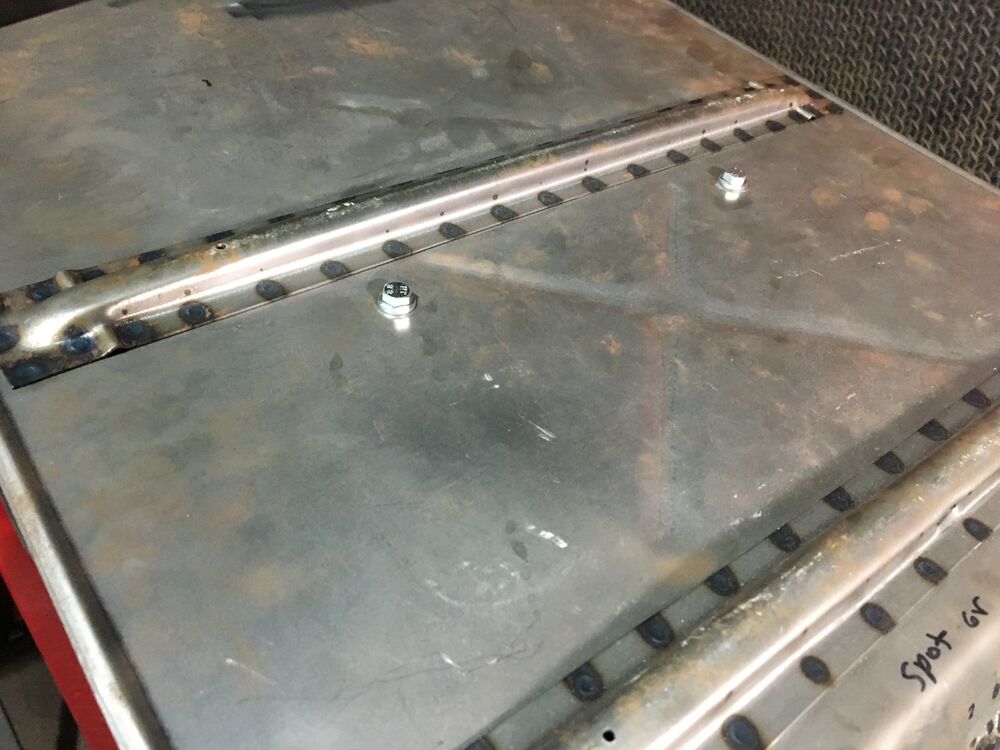
One fabricated reinforcement plate, that is not included with the floorboard.
And all done!!
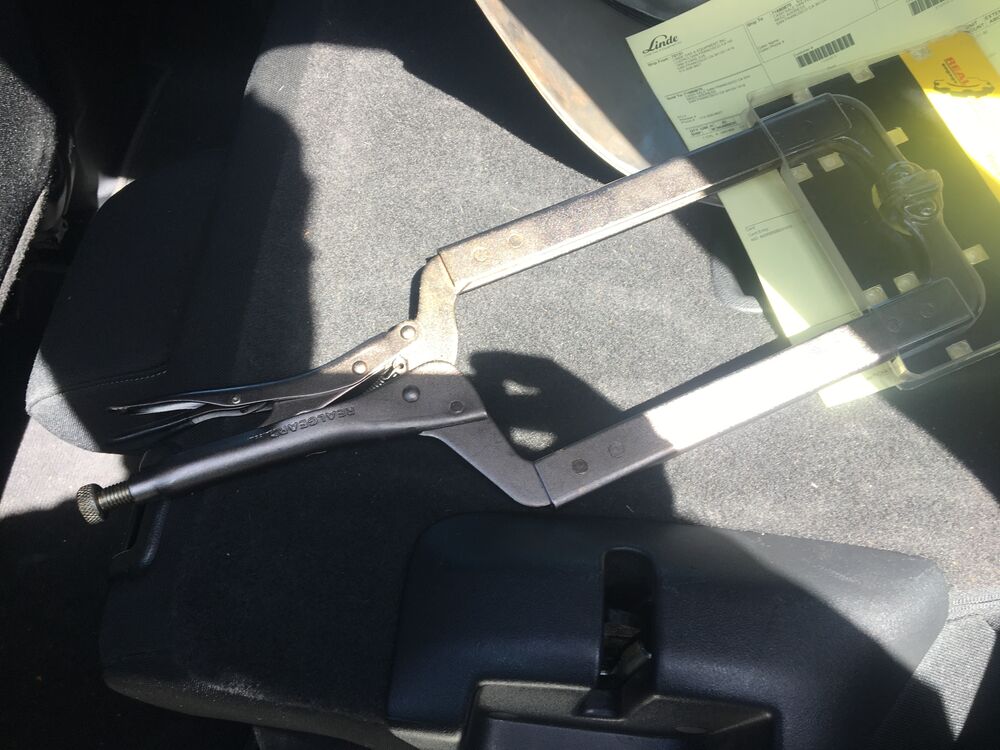
I bought a gigantic clamp. The store only had one.
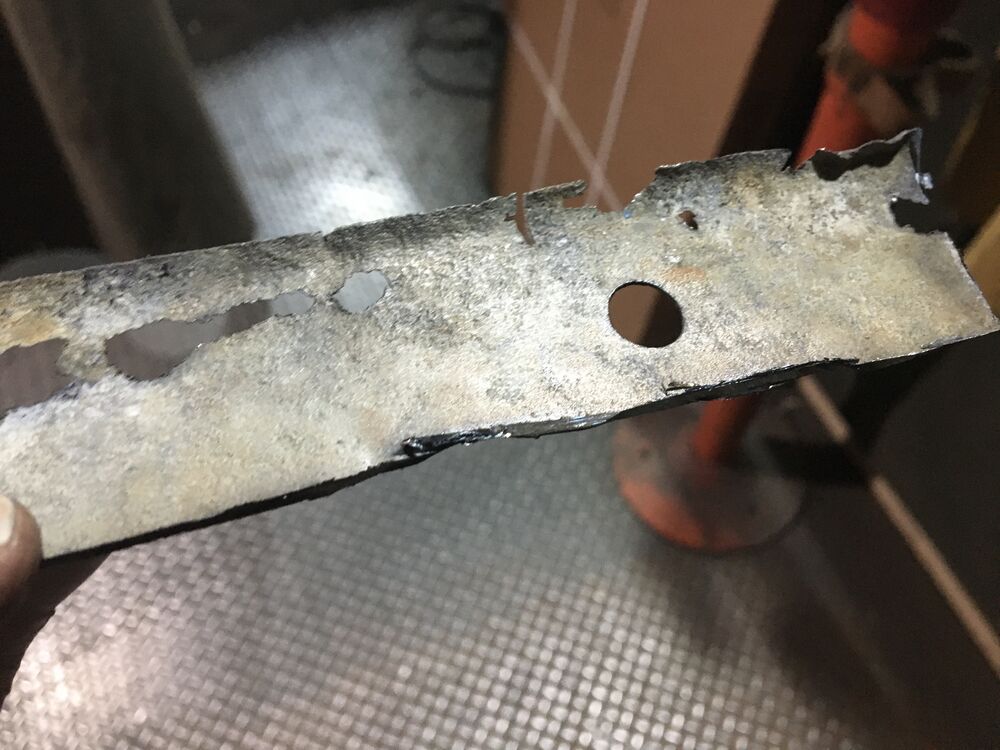
Replaced this part.
It was all eaten away.
The giant clamp is very useful.
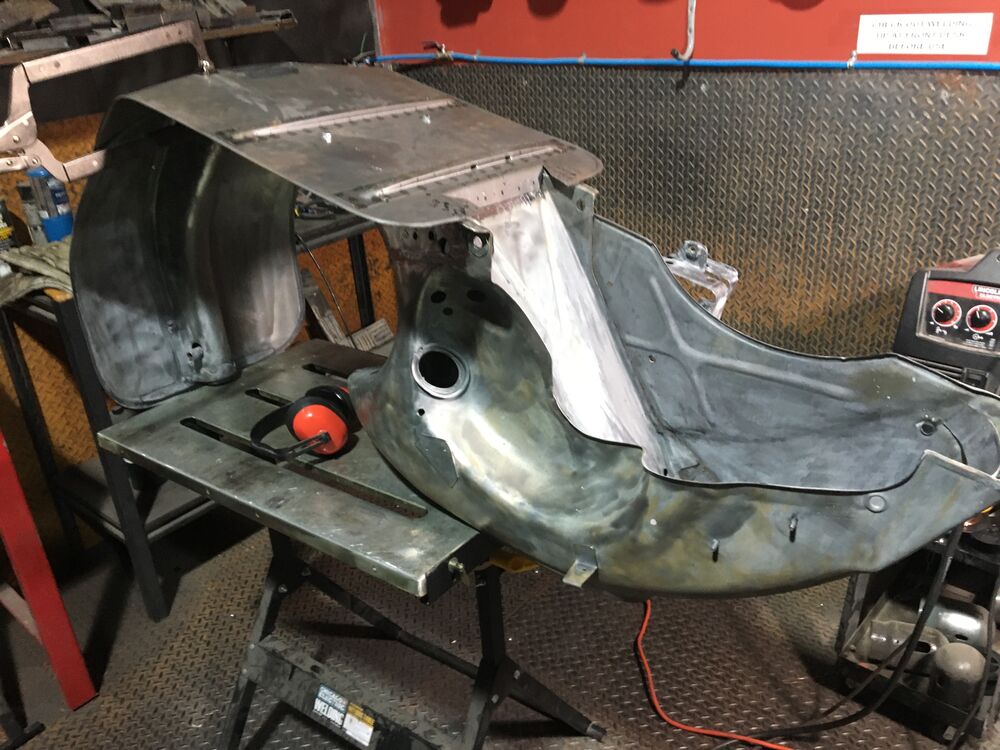
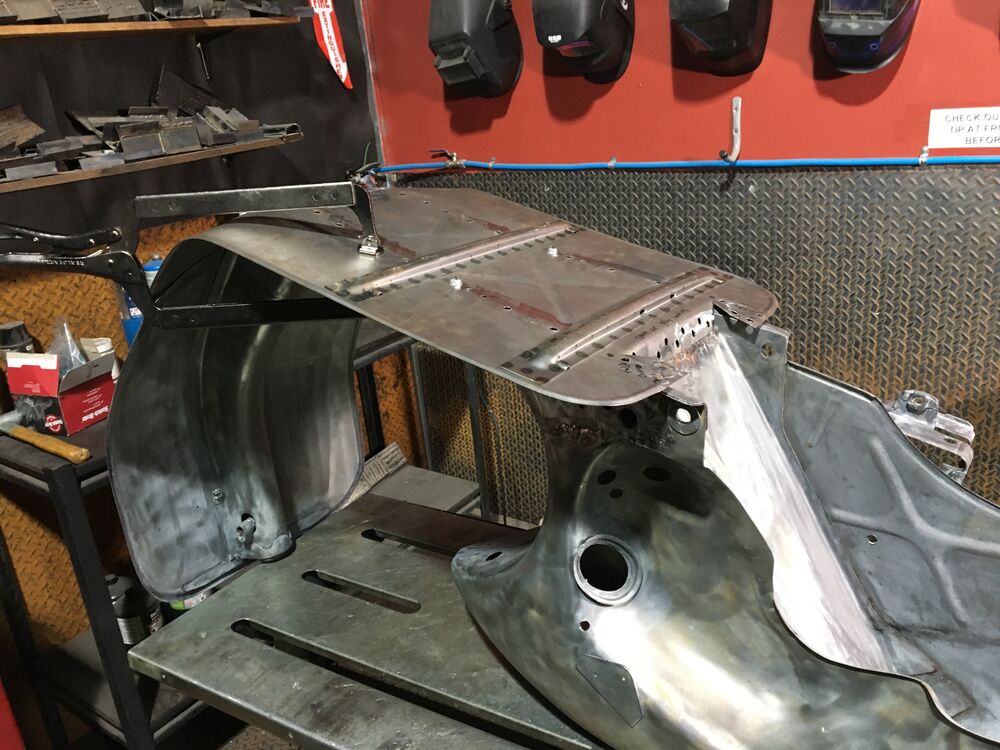
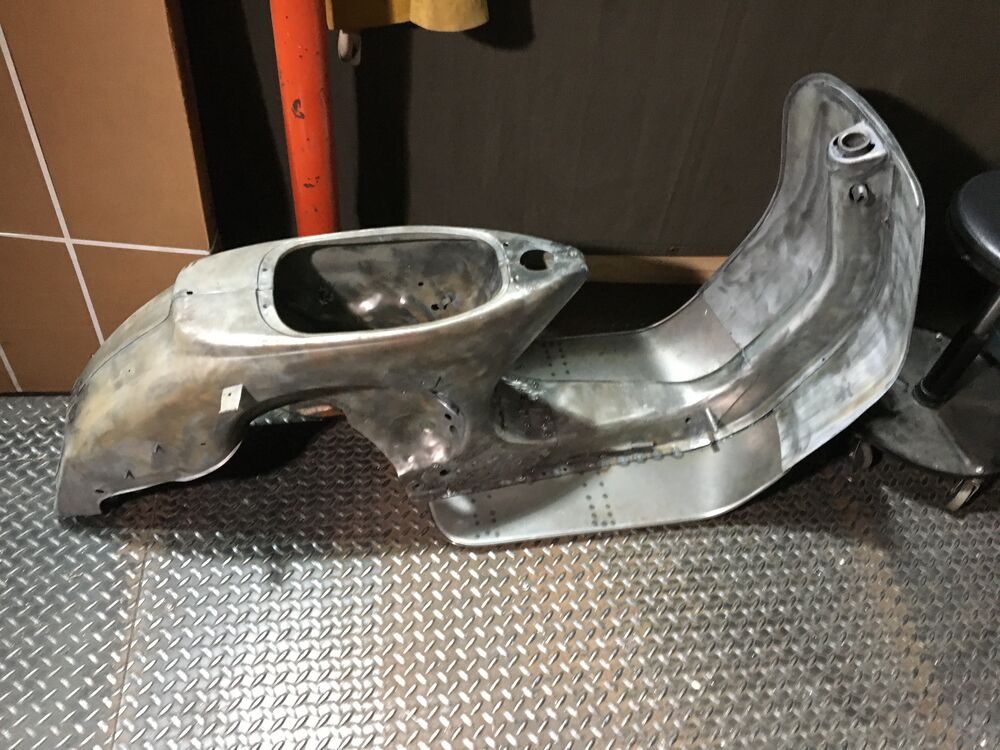
Next week, will attach this thing. It looks like it needs some reshaping to fit.
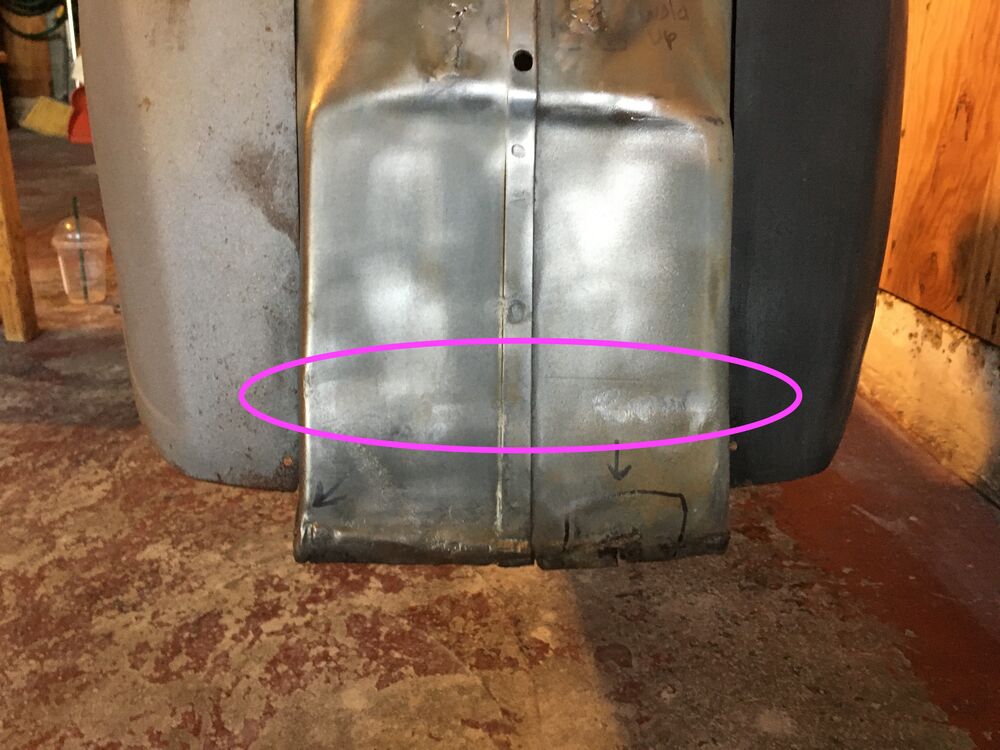
This is the last tricky part. Need to fabricate the whole bottom edge, wrapping around on both sides.
I can almost picture it.
Positive
|
|
Ossessionato
'64 Motovespa 150S (177) , '65 VBB, '66 Allstate SF, '66 180SS, '58 LD 125 (150)
Joined: UTC
Posts: 2472 Location: NYS |
UTC
quote
The shame of it is that when you are done no one will see it.
What have you found works best for grinding ? |
|
Not So Moderator
VNB VSC VSX Li150 09C C125 - (vmb vse v9b)
Joined: UTC
Posts: 10825 Location: Hustletown, TX |
|
|
UTC
quote
You're a natural! Your bike is coming along nicely. You will find that the quality of your welds get better and better.
Welding the legshield seam might get interest. Probably some hammer and dolly work as you go but I think you're up to it. |
|
UTC
Innovator
63 GL, 62 VBB, 05 Stella, 66 Smallstate, 66 Lammy S3, 63 Lammy S3 Riverside
Joined: UTC
Posts: 13201 Location: Nashville 362 Days Since Last Explosion |
|
|
Innovator
63 GL, 62 VBB, 05 Stella, 66 Smallstate, 66 Lammy S3, 63 Lammy S3 Riverside
Joined: UTC
Posts: 13201 Location: Nashville 362 Days Since Last Explosion |
UTC
quote
The quality of your work is outstanding!
I love riding along via your posts and seeing the progress. It's going to look amazing when you're finished, and the best part will be when you explain to people what you've done and they almost can't believe it. Keep at it and you'll be painting, then building, then riding in no time! |
|
OP
Molto Verboso
Scattered remnants of (two!) 1974 Rallys
Joined: UTC
Posts: 1847 Location: San Francisco, CA |
UTC
quote
I hope no one notices when it's done!
I want it to look like the factory. Think I might recreate the spot weld marks with a punch, or maybe dremel. Yes. The legshield seam will be the most visible and important.
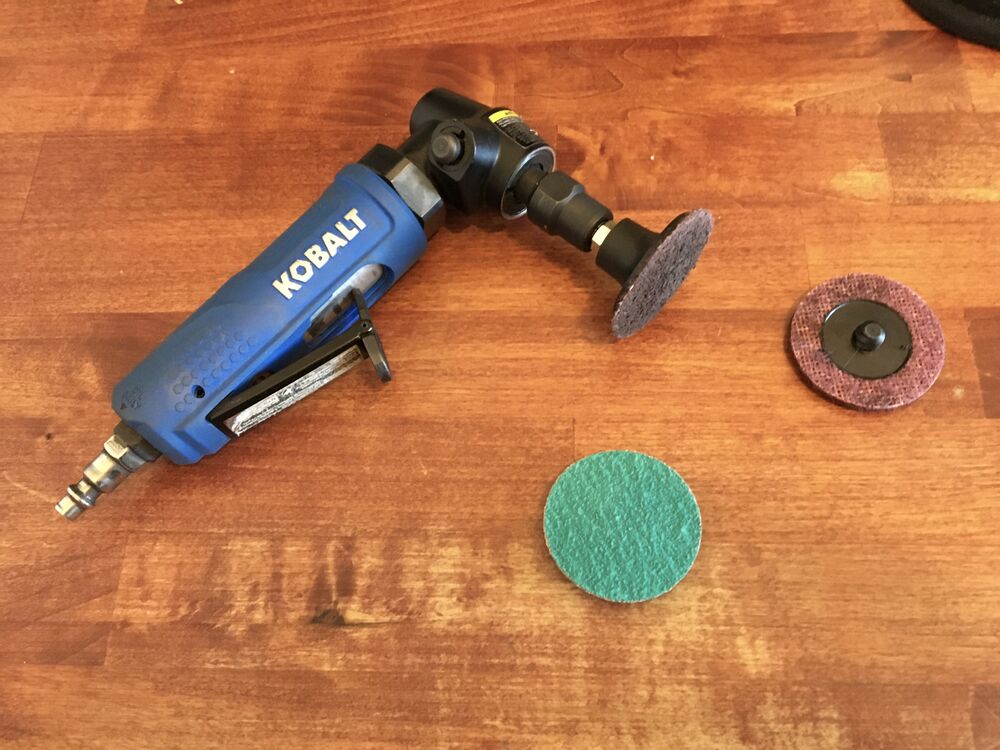
For grinding, this made it SO much easier and more precise. This takes beads down in much faster. I wish I had this at the beginning.
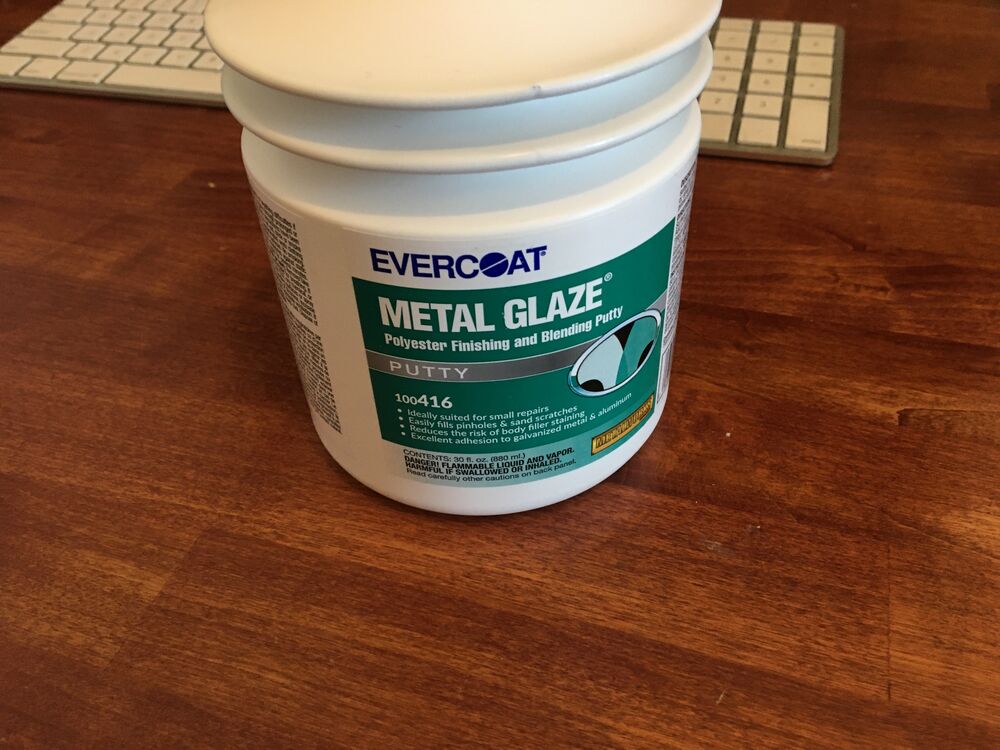
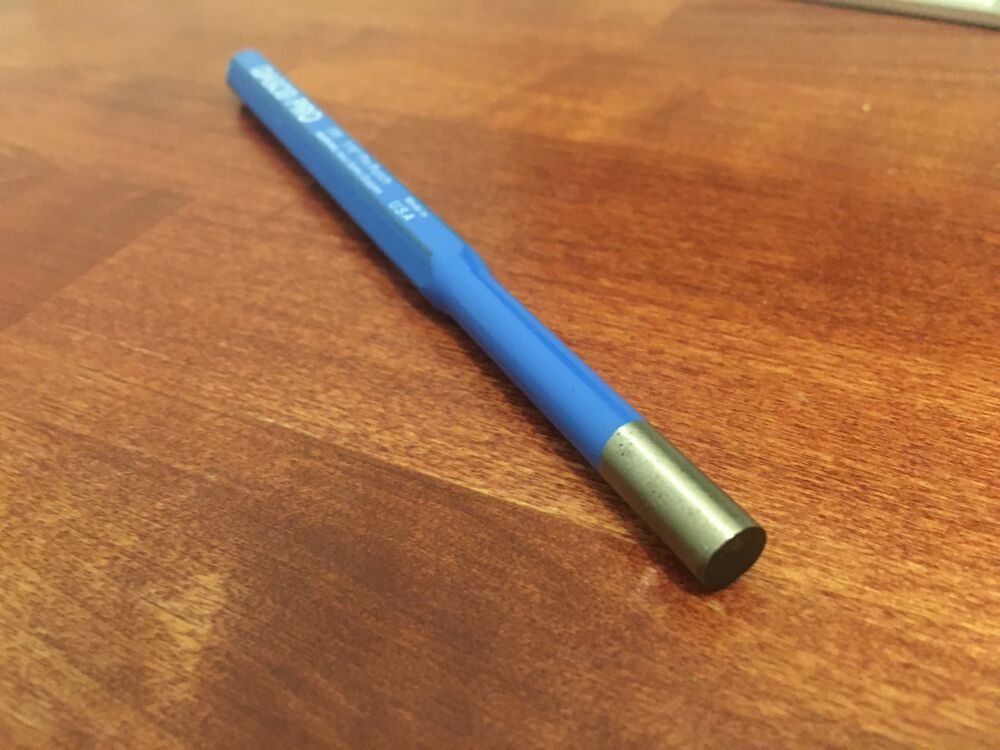
The body shop recommended this stuff.
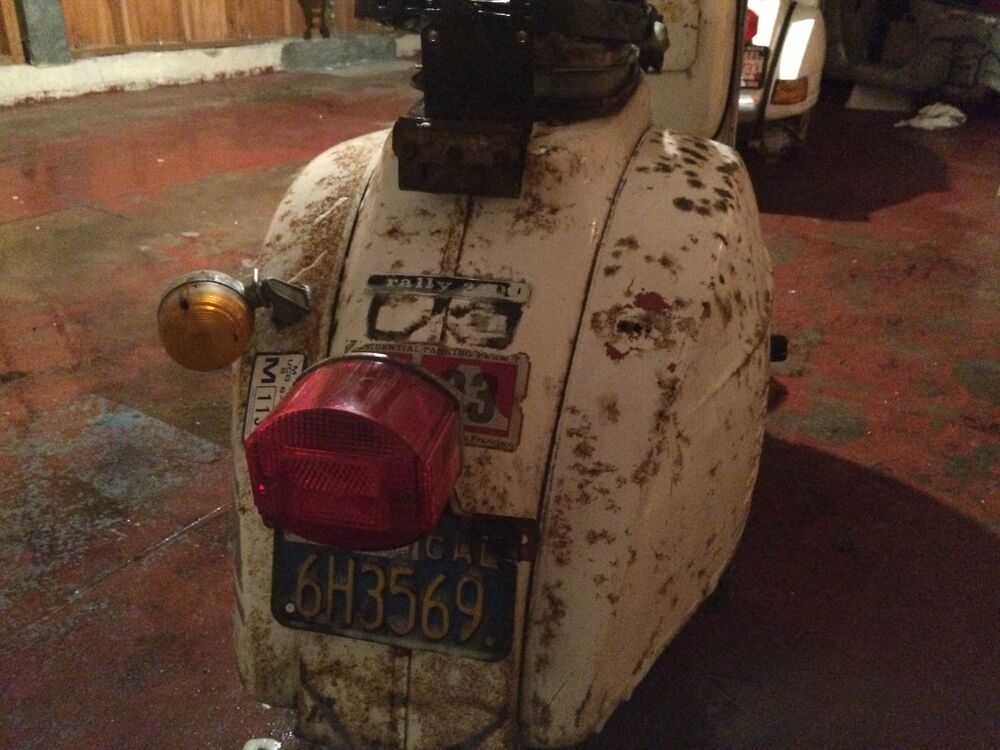
The tail needs some help.
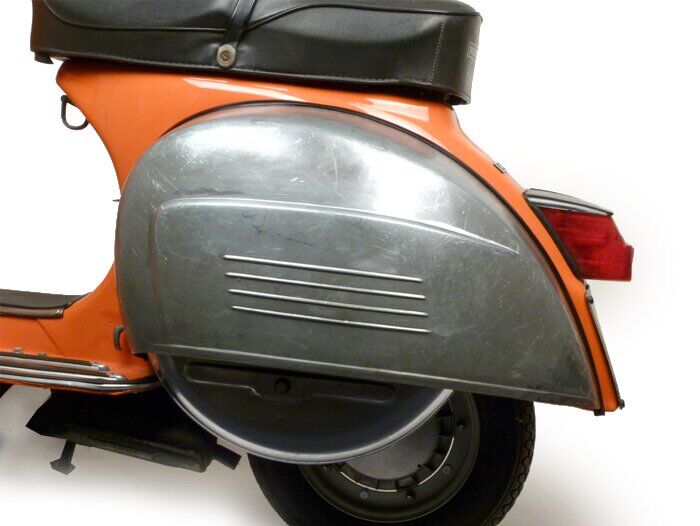
From Robot's Rally video. This is the right shape.
:)
Positive
|
|
Sergeant at Arms
Weird 80's Vespas & Cool Vintage Lambrettas
Joined: UTC
Posts: 15123 Location: The state of insanity, SoCal |
UTC
quote
outstanding work. I know it's exhausting, but great job and your skills are improving quickly!
|
|
|
UTC
quote
The original tail is definitely smoother with more radiused curves. Yours is probably a generic panel made for a p series. There are also some other details. Not sure how much you want to get into this. It's not hard to make a radiused curve and you seem to have figured out the seam part.
|
|
|
|
OP
Molto Verboso
Scattered remnants of (two!) 1974 Rallys
Joined: UTC
Posts: 1847 Location: San Francisco, CA |
UTC
quote
Thanks so much!
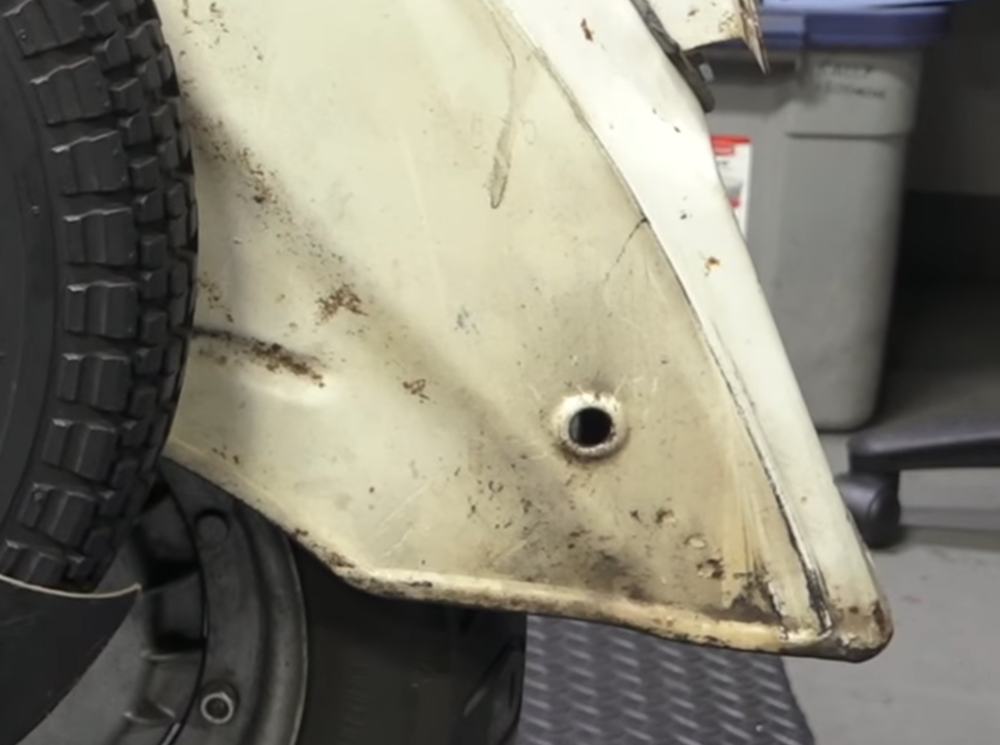
Everyone here has been so helpful. I am looking forward to doing the second Rally. It will be much easier. The metal work part is fun! That SIP photo helps. The rail on mine had some collision damage, and was all crunched and semi-straightened out. There are several tears along the bottom, and the shape is lost. And metal is very degraded, but just the part below the brace. I'm surprised there is no reproduction part for this. It's common on all square tails, and they always have damage.
|
|
OP
Molto Verboso
Scattered remnants of (two!) 1974 Rallys
Joined: UTC
Posts: 1847 Location: San Francisco, CA |
|
OP
Molto Verboso
Scattered remnants of (two!) 1974 Rallys
Joined: UTC
Posts: 1847 Location: San Francisco, CA |
UTC
quote
Another day.
I used a whole tank of gas! Have to get another.
Touched up the little holes. It's getting easier to control the welder. The Co2 mix is much smoother.
Didn't make this perfect, bc it's under the other part.
Carlucci adds one set of stand holes. Very helpful.
The giant clamp is my friend. Godsend.
Lots more holes. This takes forever!!
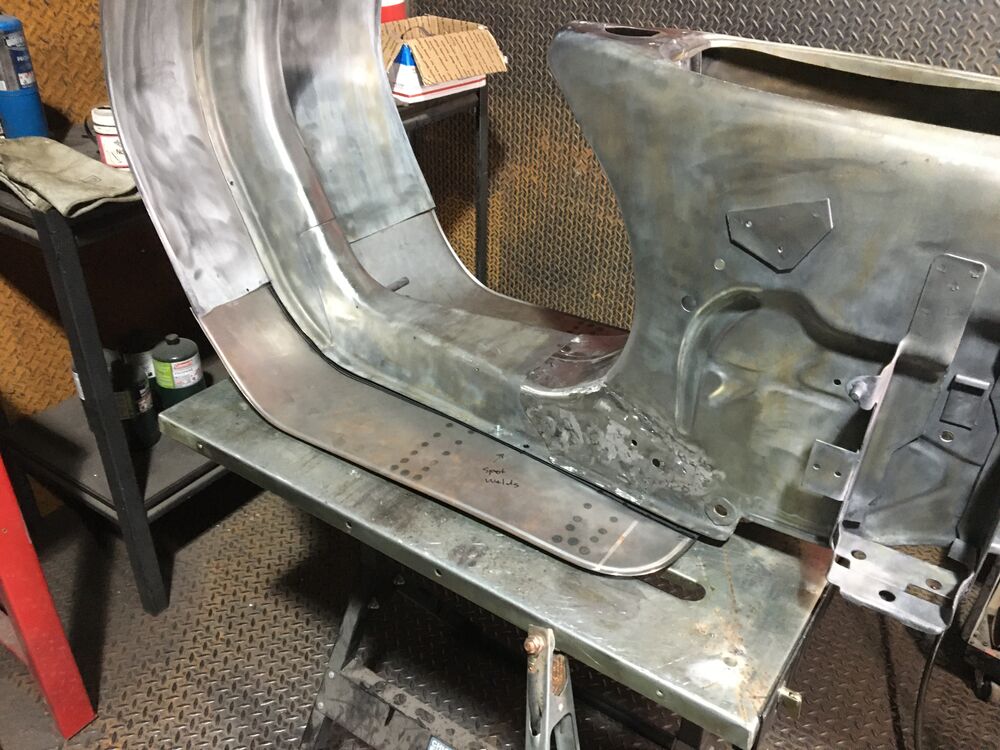
aaaand. Point of no return. But it's working well!
Made it this far and ran out of welding gas.
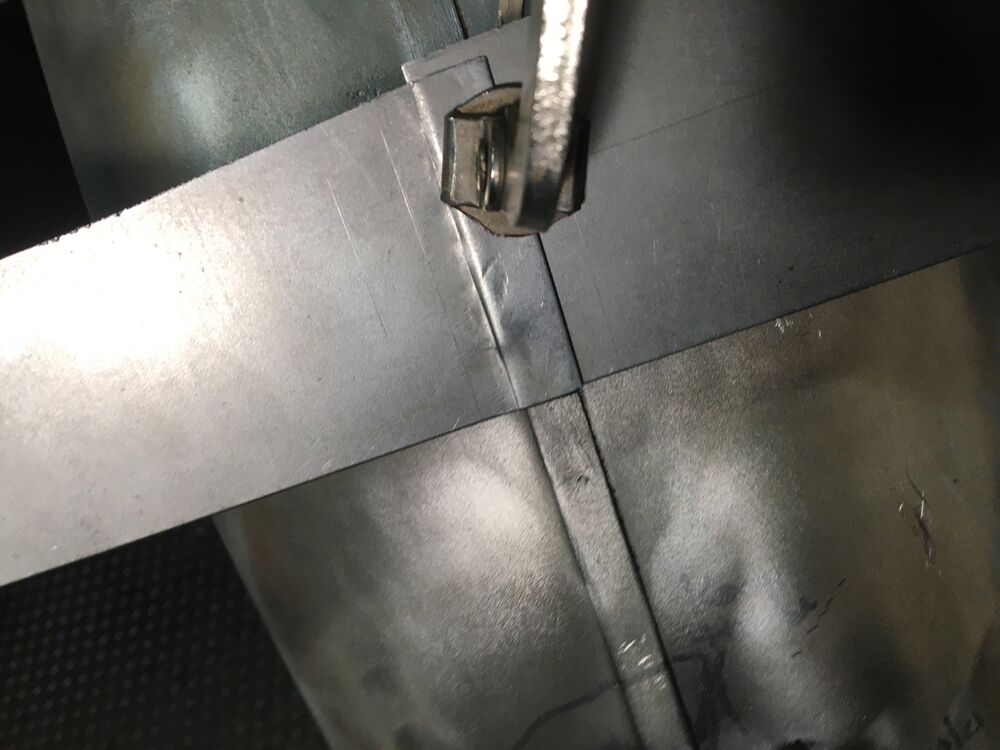
The new part needs some reshaping at the top. But I think this will be easier as it molds into place along the frame
I will modify this to look like the spot weld dents and punch them.
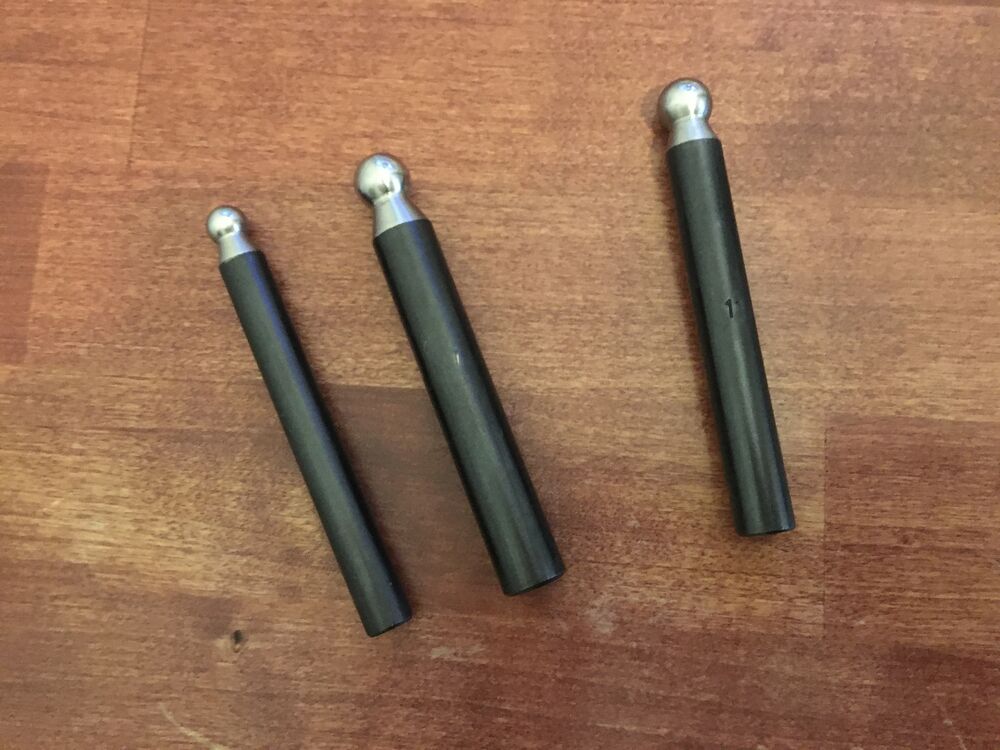
Jewelry punches to get the shape for the tail corners.
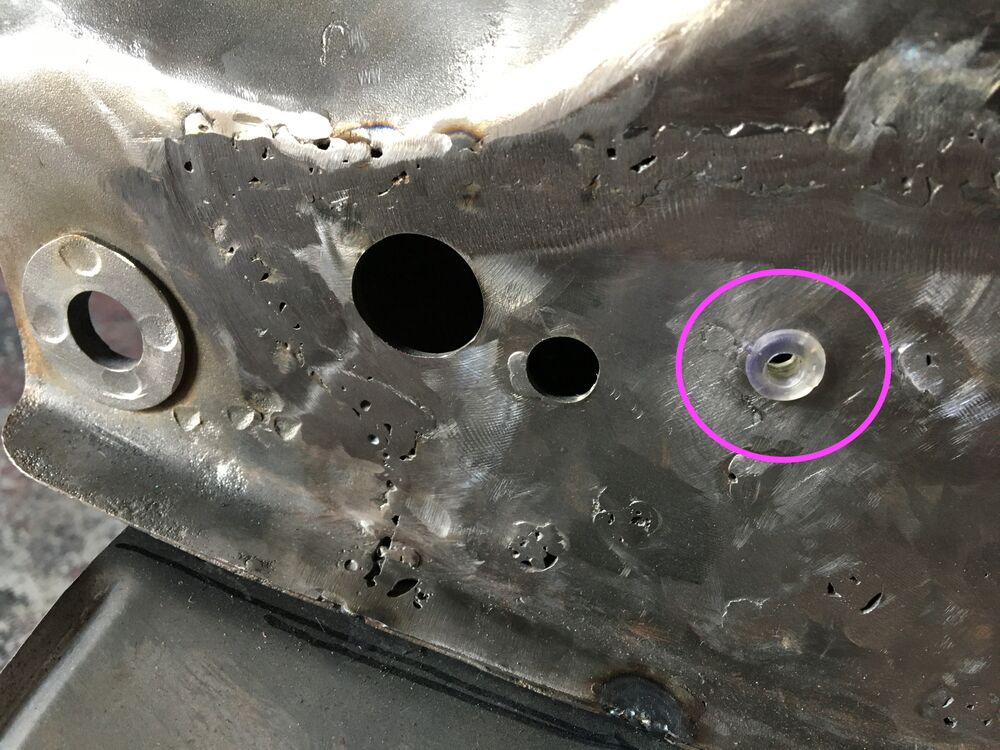
This was exciting. I had to recreate these holes, but the size is right. The little rubber/plastic pieces fit.
|
Modern Vespa is the premier site for modern Vespa and Piaggio scooters. Vespa GTS300, GTS250, GTV, GT200, LX150, LXS, ET4, ET2, MP3, Fuoco, Elettrica and more.