OP
UTC

Member
Not yet
Joined: UTC
Posts: 46
Location: Kingman
 
Member
Not yet
Joined: UTC
Posts: 46
Location: Kingman
UTC quote
The book just says remove mud flap. It's seems like all the work should be done on the right side but the fender seems to be attached behind the air box too.

It also referred to a bracket cover that doesn't look like anything I see.

Advice desired!!! Thank you

The pictures in the book don't look much like my unit
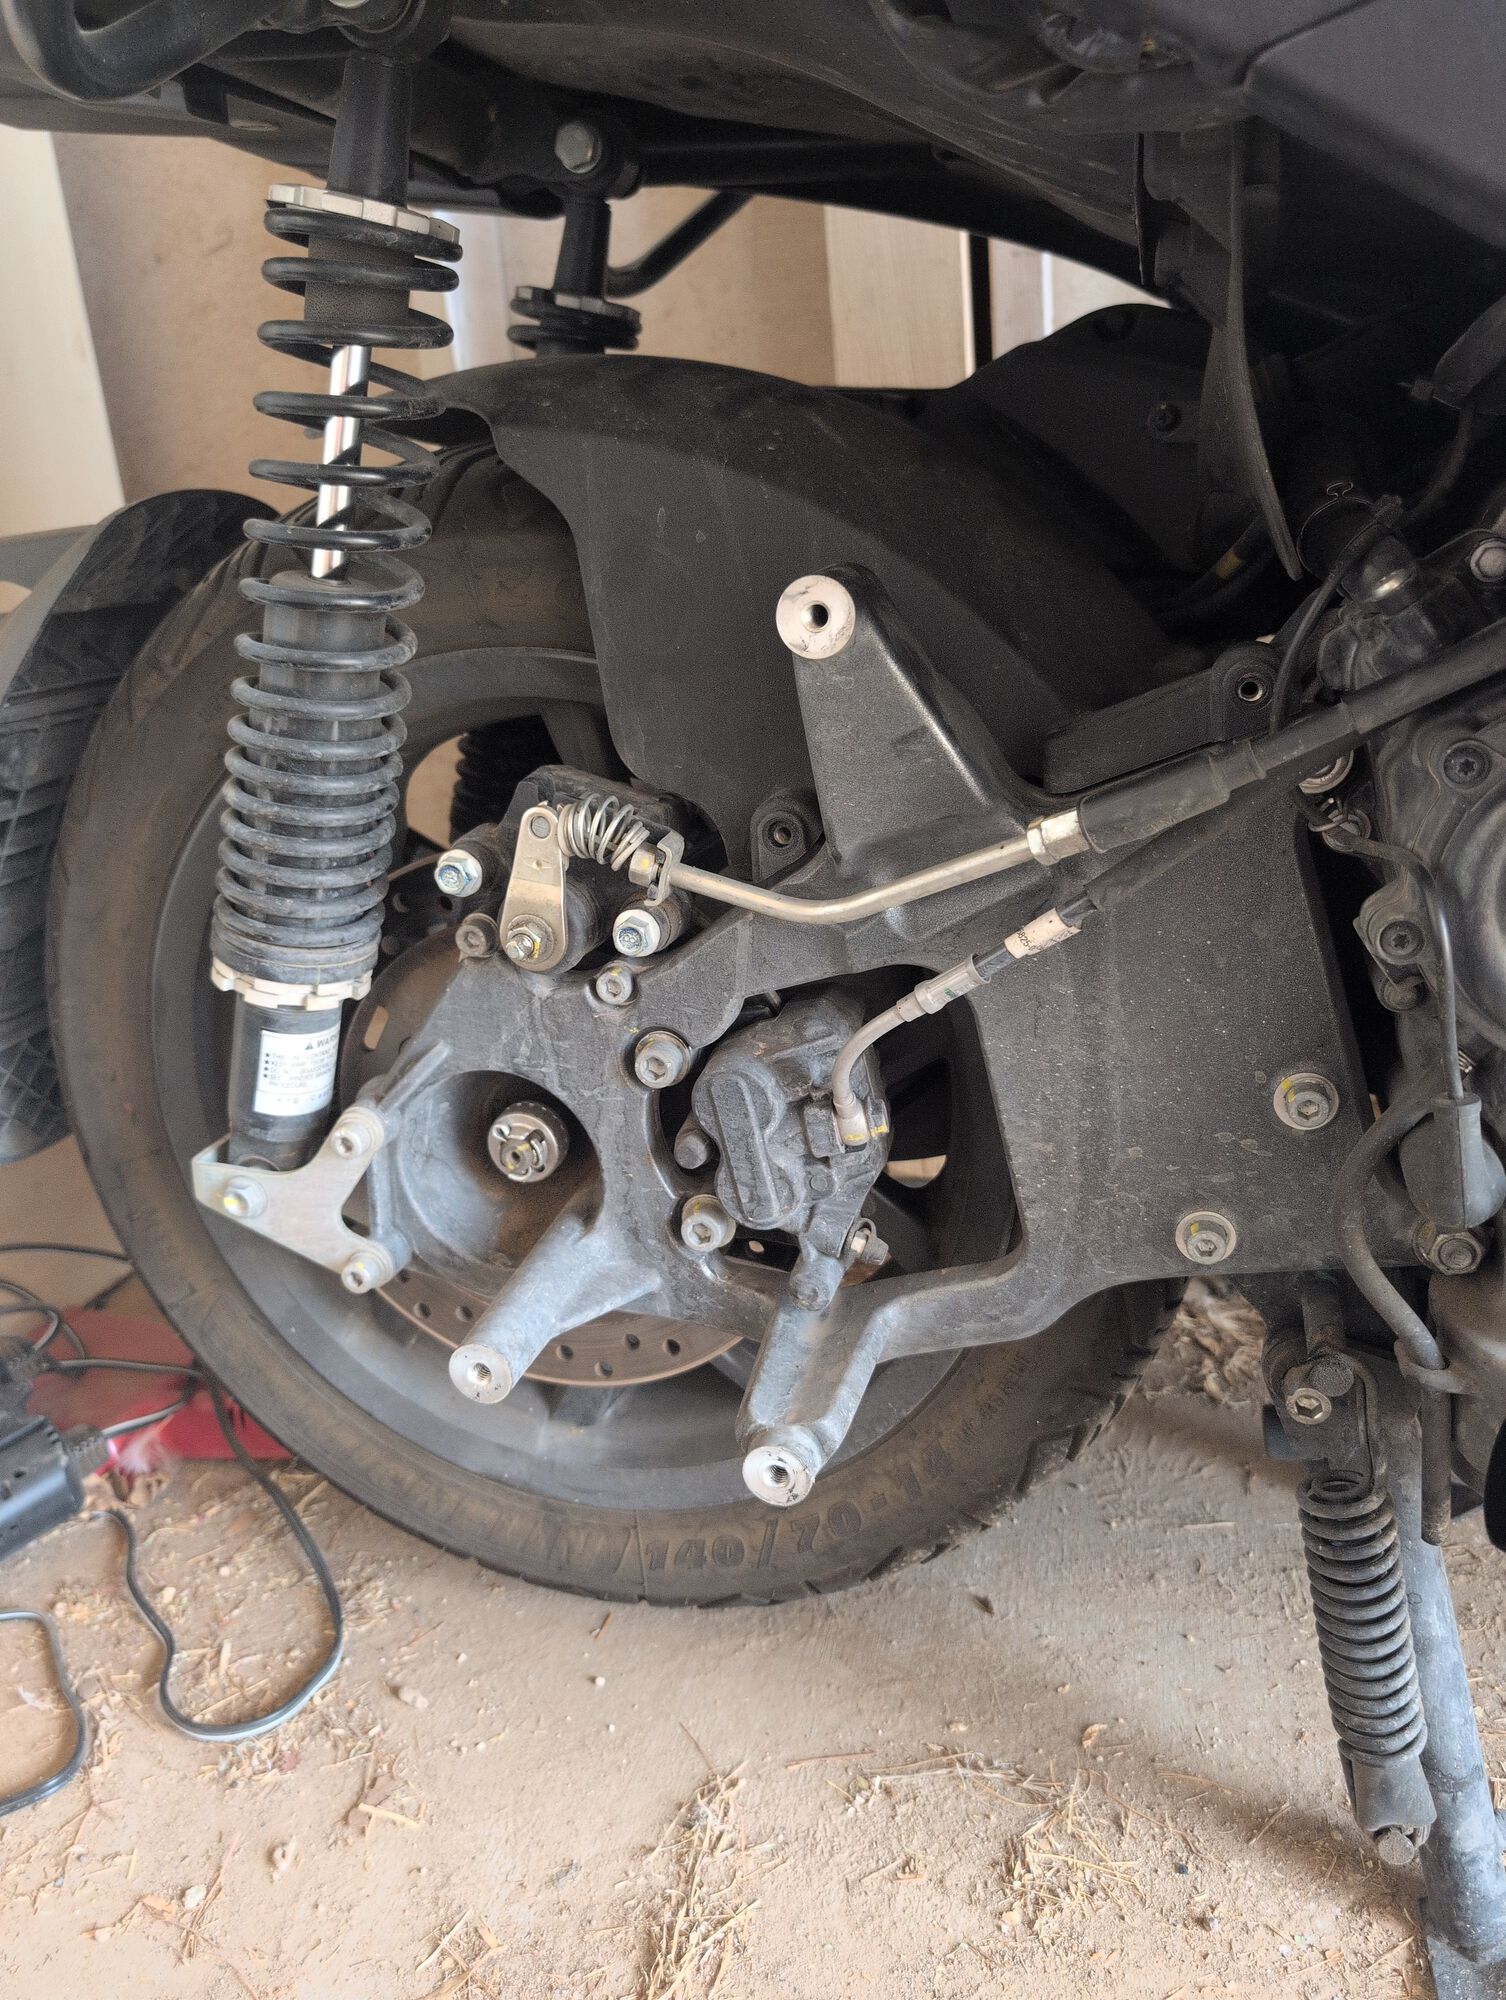
Forum member supplied image with no explanatory text
@maksor avatar
UTC

Ossessionato
Gilera Fuoco 500ie
Joined: UTC
Posts: 4623
Location: Netherlands Olst
 
Ossessionato
@maksor avatar
Gilera Fuoco 500ie
Joined: UTC
Posts: 4623
Location: Netherlands Olst
UTC quote
no need to remove
OP
UTC

Member
Not yet
Joined: UTC
Posts: 46
Location: Kingman
 
Member
Not yet
Joined: UTC
Posts: 46
Location: Kingman
UTC quote
I should update. The pictures, numbers of screws and some small points were different. But I was able to follow the steps in the book and finally got the wheel off this morning. But fair warning to anyone else, if you are relying on the book to clearly lead you step by step, it won't.

Modern Vespa is the premier site for modern Vespa and Piaggio scooters. Vespa GTS300, GTS250, GTV, GT200, LX150, LXS, ET4, ET2, MP3, Fuoco, Elettrica and more.


Modern Vespa is made possible by our generous supporters.

Buy Me A Coffee
 

Shop on Amazon with Modern Vespa

Modern Vespa is a participant in the Amazon Services LLC Associates Program, an affiliate advertising program designed to provide a means for sites to earn advertising fees by advertising and linking to amazon.com


All Content Copyright 2005-2026 by Modern Vespa.
All Rights Reserved.


[ Time: 0.0088s ][ Queries: 4 (0.0021s) ][ live ][ 343 ][ ThingOne ]